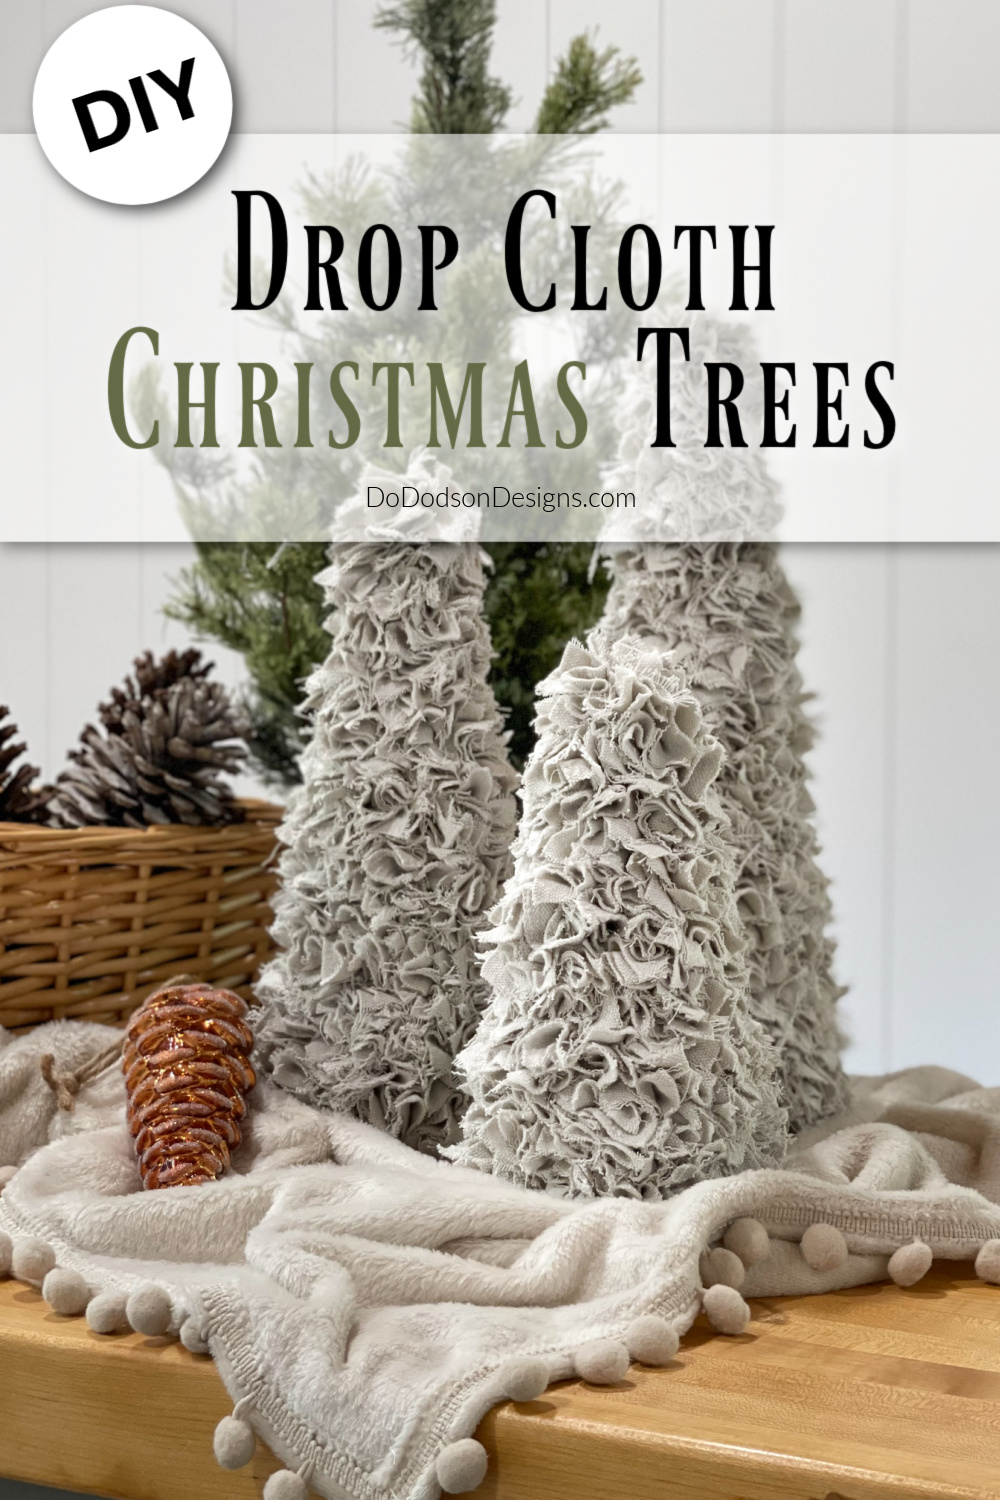
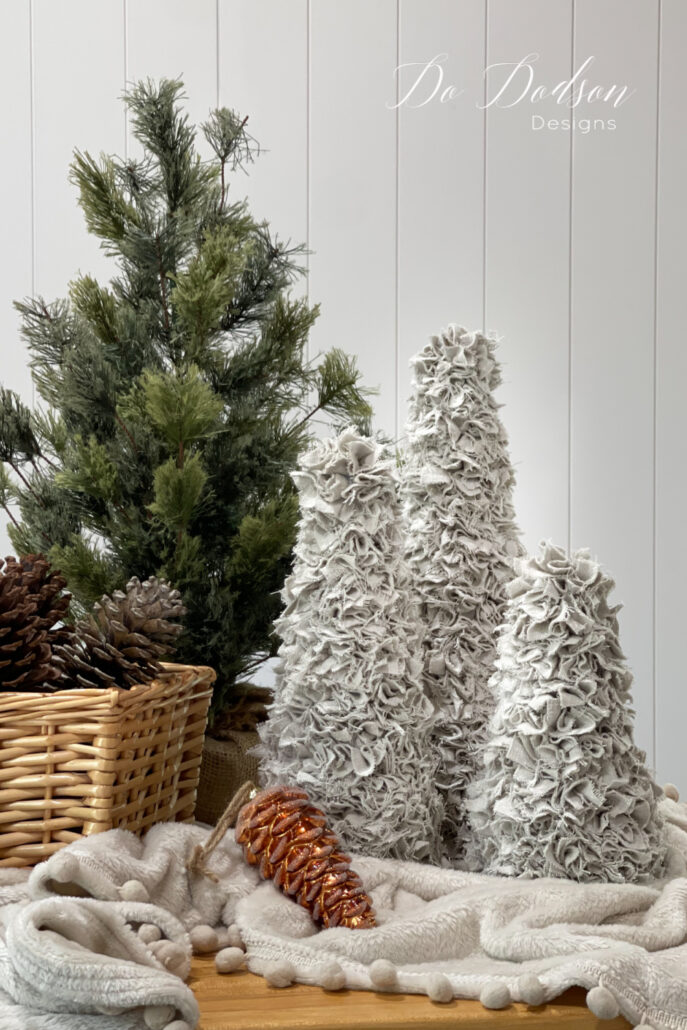
I love making Christmas crafts with drop cloth fabric, and I love that it does not require a sewing machine. I’m a lazy crafter! Today I’ll be sharing how to make a simple DIY drop cloth Christmas tree, in three different sizes. It’s a great way to have fun and get you in the Christmas spirit. Below are the complete directions on how to make them.
* As an Amazon Associate, I earn from qualifying purchases and through other companies as well. You will not be charged extra when you purchase through these affiliate links, but any income I make helps me create more amazing DIY projects to share with you! To see my full disclaimer, click here!
How To Make A Little Drop Cloth Tree Trio
Last year I had planned on making these, and all the holidays just kinda all ran together, and before I knew it, it was a new year. This year, I have Christmas decor front and center, and making a little drop cloth Christmas tree isn’t getting surpassed like last holiday season.
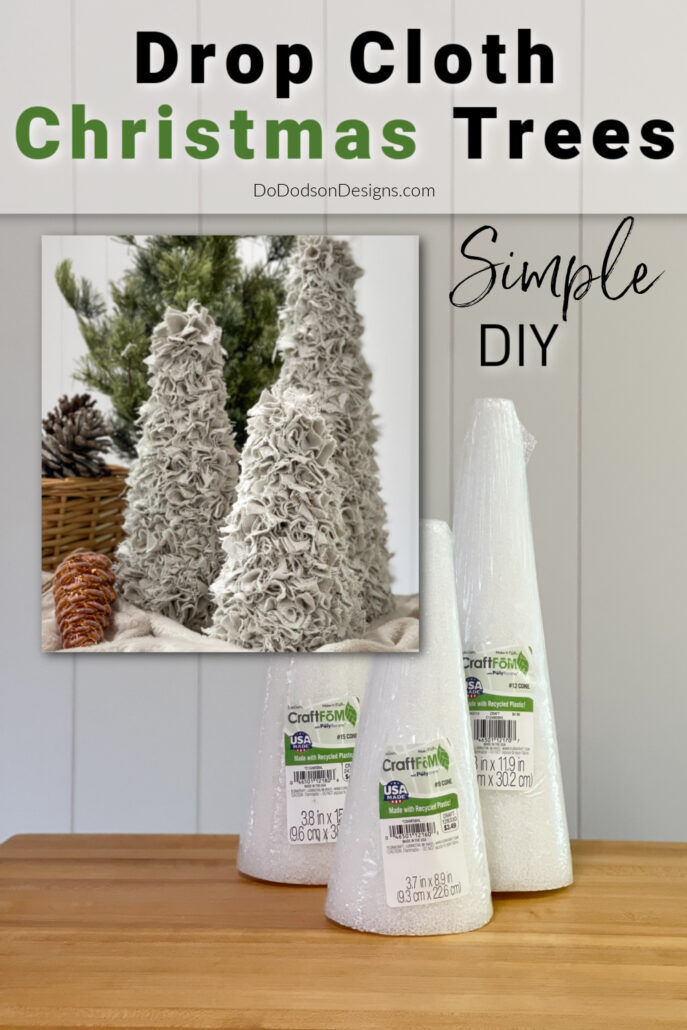
Gather Your Supplies To Make Drop Cloth Christmas Trees
Here is a list of the items I used to make these, but the fun part is you can use any fabric you want. Try using your favorite colors and pattern to customize your little tree to your taste. I found the foam cones in my favorite craft store, Hobby Lobby. You can try shopping at Dollar Tree, but it seems to be a hit-or-miss for me.
And since we use foam cones with flat bottoms, we don’t have to worry about a tree trunk on our trees. Yay!
- foam cones ( 3 different sizes)
- drop cloth fabric
- scissors
- measuring tape
- hot glue gun
- phillips head screwdriver (or pencil with a flat end)
*Always pre-wash and dry painter’s drop cloth before using it with your projects. I machine wash mine twice and add one cup of bleach to the washing cycle. It helps to soften the fabric and makes it easier to work with.
STEP 1: Prepare Your Work Surface
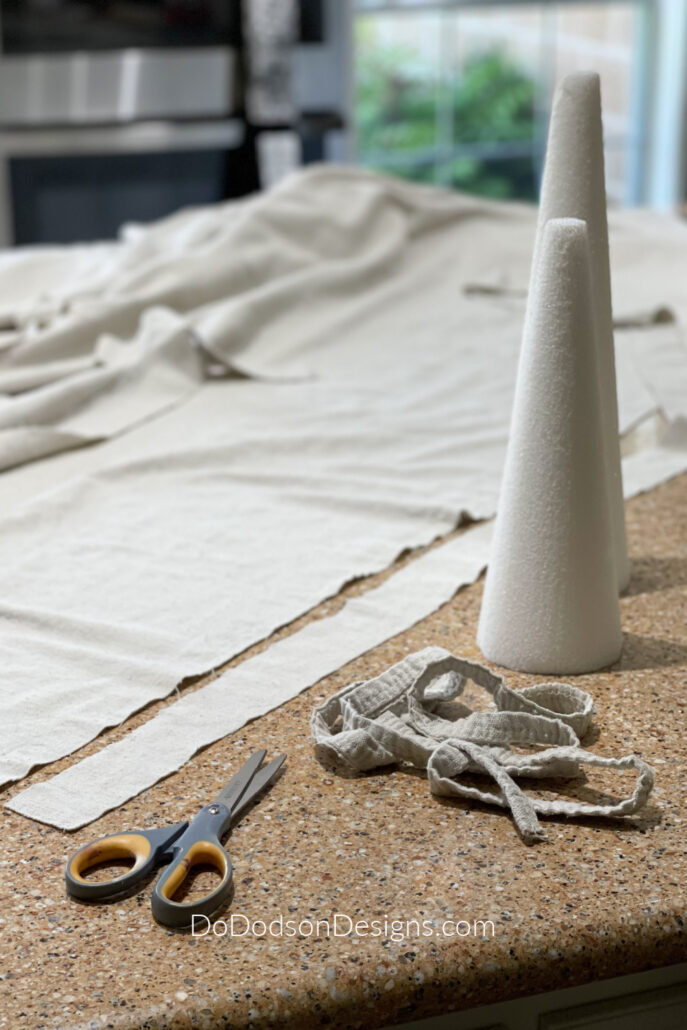
Find a large clean surface to work from. Lay out the fabric flat and grab your best pair of scissors. Cutting drop cloth can be a bit of a challenge if your scissors are dull, and I ended up cutting a lot more than I thought I would.
STEP 2: Cutting The Fabric
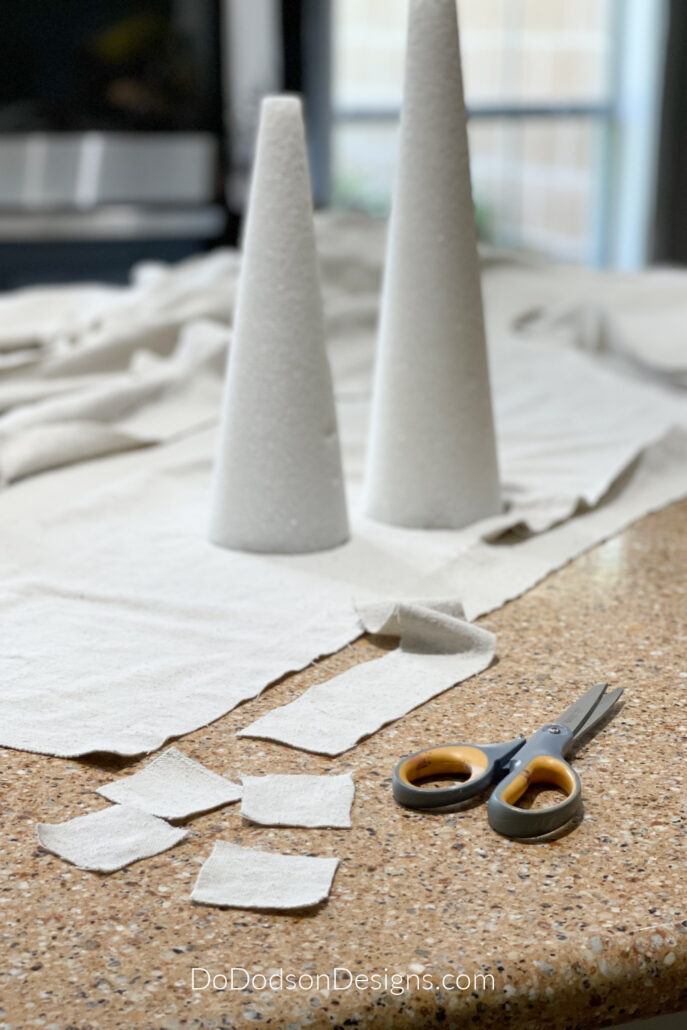
To start the project, you will need a lot of 2×2-inch squares of drop cloth. I didn’t count them; that’s how many. Since you’ll be cutting many pieces for these trees, start by cutting approximately 2-inch wide strips the length of the drop cloth. Doing this makes it a lot easier and quicker to cut the 2×2-inch squares. Once the strips are cut you can quickly cut the drop cloth strip into the 2×2- inch squares. I measured them with my eyes.
Don’t worry if your pieces aren’t the perfect size. A long piece here and there will only give it character. Remember, this should be a fun project. There’s no such thing as perfect in my crafting world.
STEP 3: Securing The Drop Cloth To The Cones
Starting in a straight line at the bottom of the foam cone, take one of the 2 inch squares and center it on a long blunt item. I used a phillips head screwdriver, but you can also use the blunt end of a pencil. This will make a little hole in the cones while pushing the fabric inside.
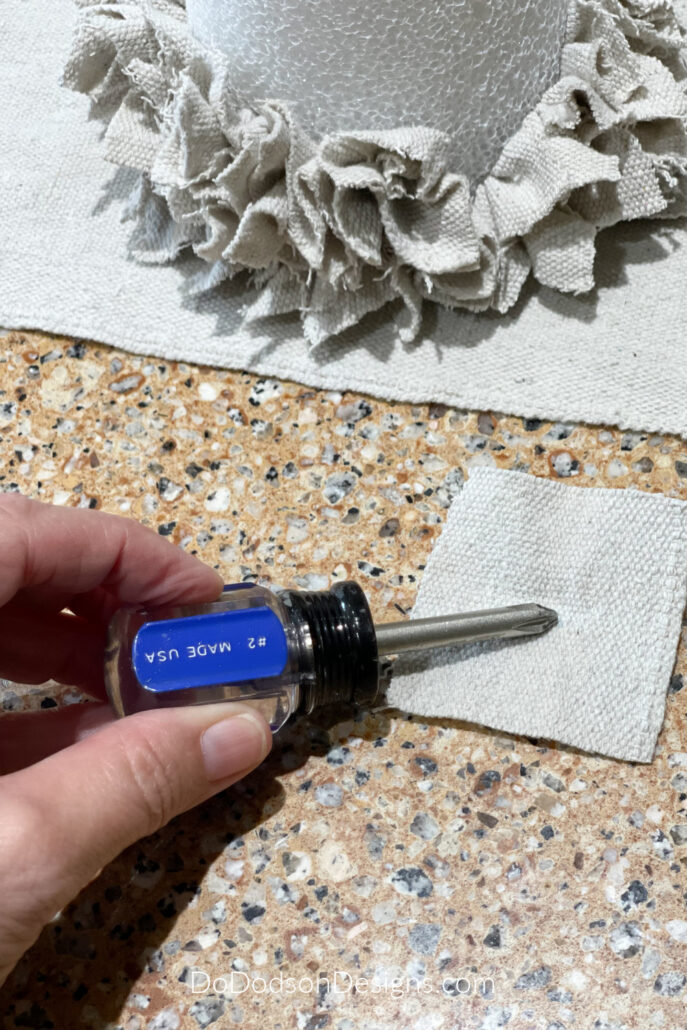
But before pushing the fabric inside the cone, don’t forget to add a tiny amount of hot glue to the center point of the fabric that is being inserted. This will help to secure the material once it’s pushed inside.
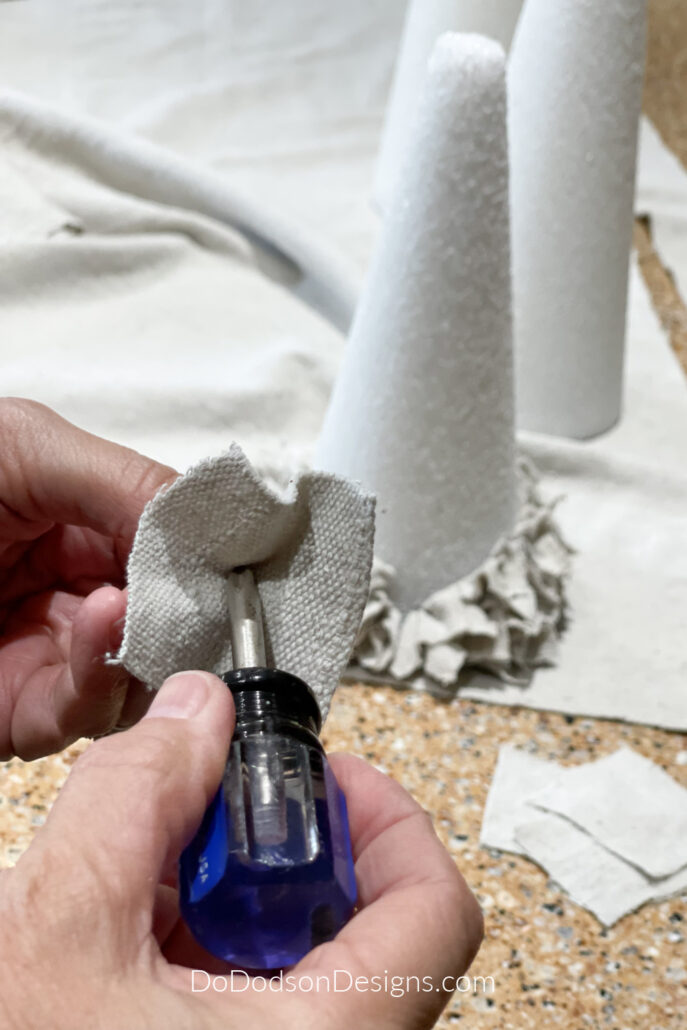
Continue poking the fabric around the base of the foam cone with the squares until you have made a full large circle. Don’t worry about making a perfect circle. Close enough works too.
STEP 4: Continue The Simple Pattern
Continue this simple pattern by inserting and poking the fabric around the tree cone until you have reached the top edge of the tree. The last few pieces should be carefully placed as you’ll notice that the cone has less area to insert the fabric into. For best results, leave ample space between each piece. The fabric is thick, and the outer edge of the material will fill in any voids between pieces.
Making these three drop cloth Christmas trees took almost 1/2 of the whole 9X6 drop cloth. I was a bit shocked that it took so much.
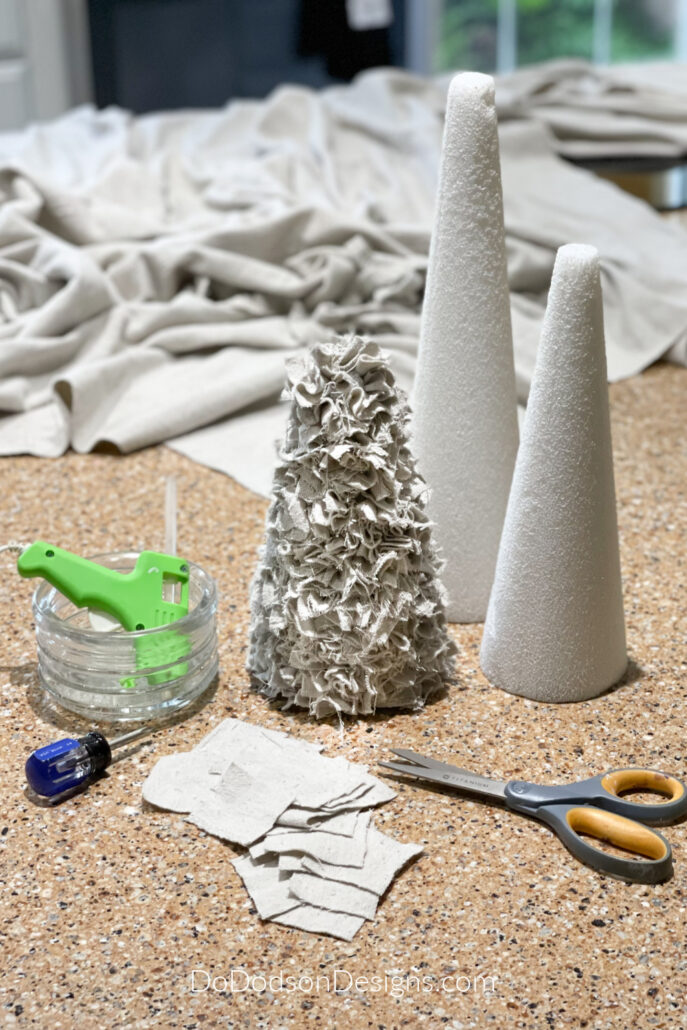
The next time I make these think, I’ll cut all the drop cloth strips at one time and be done with it. My hand got a bit tired going back and forth with the cutting. I started making the smaller tree first, but by the time I had completed the third one, my hands were pretty tired. Yes, good scissors are a must when cutting canvas drop cloth!
STEP 5: Adding Softness – Frayed Edges
After filling all your cones with the fabric, take the little trees outside and give them a good rubbing with your hand. This will help fray the edges of the drop cloth, and all the fuzzies will float away into the neighbor’s yard. LOL Just kidding. But you will see a lot of the threads falling out, so it’s best to do this outside. This was my favorite part of making these drop cloth Christmas trees! It looked like it was snowing in Texas. It’s 80 degrees outside.
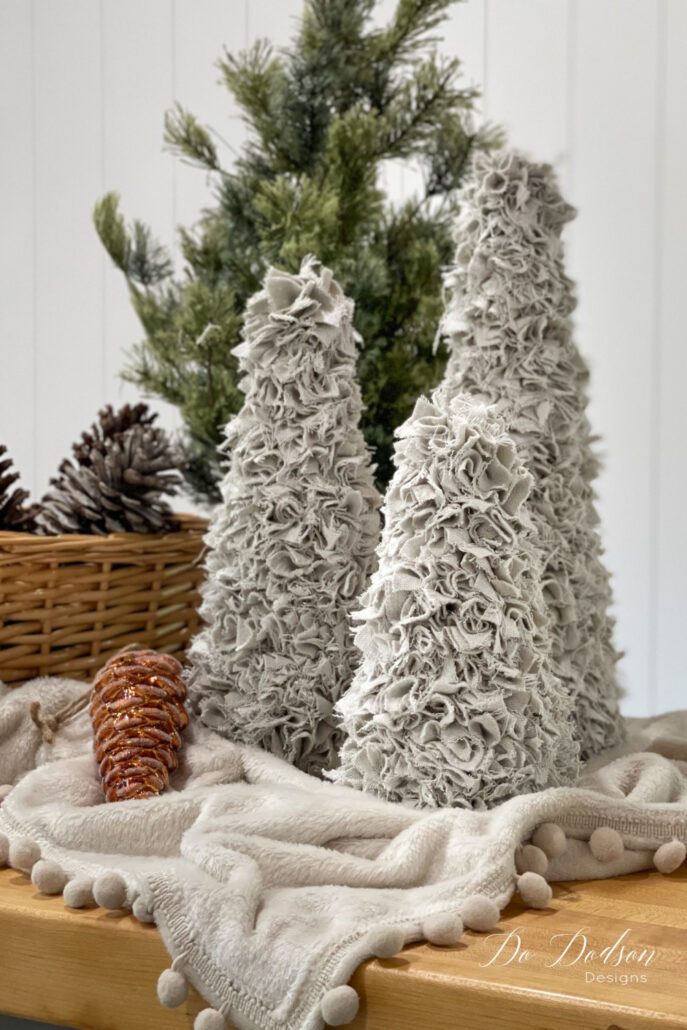
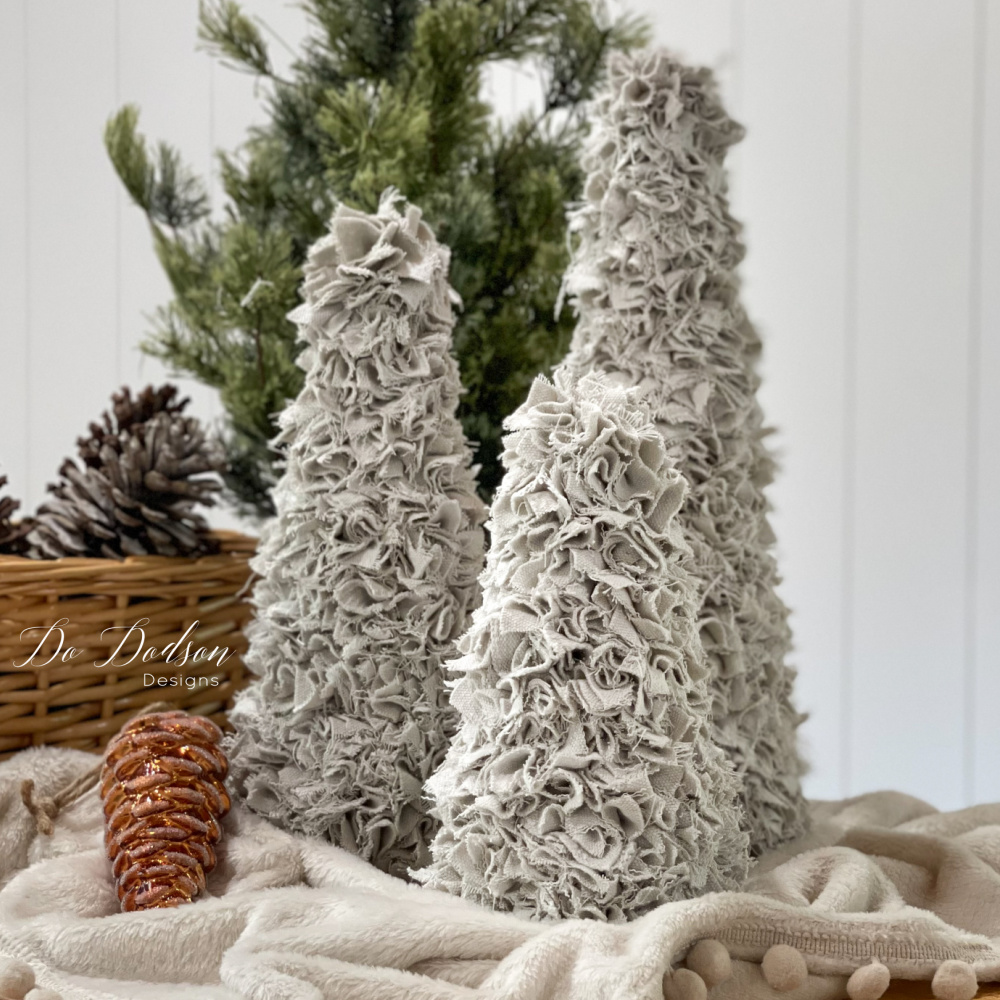
The frayed edges of the drop cloth give these little trees a soft, almost snowy appearance. It’s totally up to you and your preference. You can leave them as is.
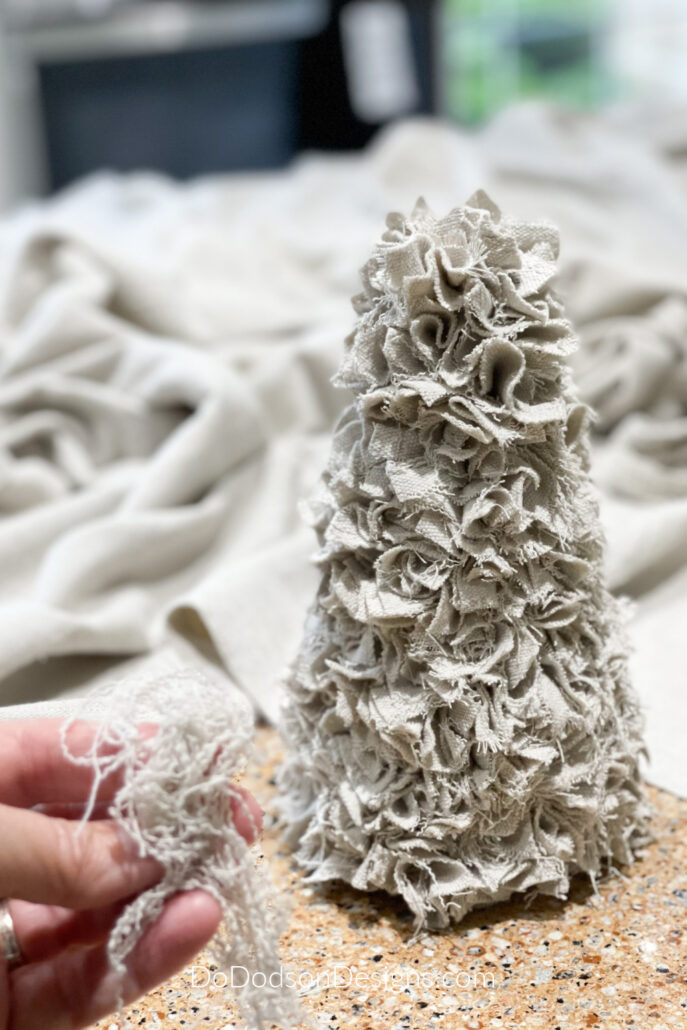
I can also see these trees made with beautiful plaid fabrics for the holidays. Add your favorite fabric to match your holiday decor style.
I prefer the simplicity of the farmhouse style, and the organic drop cloth fabric is perfect for my style.
Total Cost For This DIY Project
The cost for all three trees is about $20, and you have material left over for more DIY drop cloth Christmas trees. I’ll spend that every day creating unique and fun projects.
The End Result Of Making DIY Drop Cloth Christmas Trees
Who would have thought a painter’s drop cloth would look so good as DIY holiday tree decor? I couldn’t be happier with how they turned out.
Bonus! You won’t need Christmas Tree decorations for these little cuties. They’re perfect just the way they are.
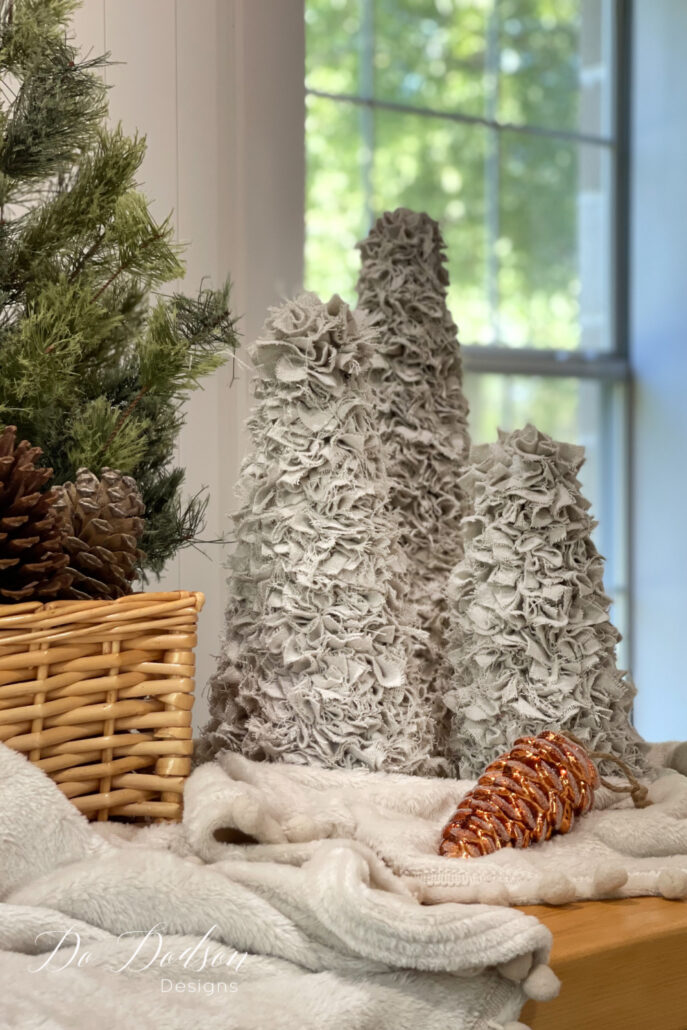
Hey, thanks for joining me here for my DIY drop cloth Christmas tree tutorial. It was such a fun project and one that I feel deserves another go. Can anyone ever have too much holiday decor? I think not! These would also make a great addition to your holiday gift giving if you’re into handmade gifts. I know I am!
I always enjoy hearing from you and welcome your thoughts about all my DIY home decor projects. Drop your comments below, or just say hi so I’ll know you stopped by.
Until the next project… xo, Do



LOVVVE! Will definitely try this…and hopefully in advance of the holidays
Before, during, and after… whatever it takes, my friend. LOL 🙂 xo
Can’t talk now. I’m running out to buy my styrofoam cones and drop cloth so I can get these made for Christmas 2022! #lovethese
LMAO… best comment ever! 🙂 XO
I love it! That’s a great way to make these, poking the material in. Bravo! I was thinking, “wow gluing each piece must have taken Do forever!” 😂 You are a smarty-pants. 🥰
LOL, not smart… it’s called lazy crafting. Thanks for reading. 🙂 xo
These are so cool, Do! I was thinking, this must have taken her forever! But look at you, the cool crafter. 😂 Love these.
Omgoodness these Christmas trees are so stinkin’ cute!! Pinned because the world will want to see this project 🥰
LOL, you’re so cute! I don’t know about the world but I think the world needs to craft and create more. It calms the savage beast. 🙂 xo
What a great idea!! Can’t wait to try making these drop cloth trees !!
Hi Patricia! I’m so glad you found this helpful. Have fun creating your drop cloth Christmas trees. xo 😘
Hello Donna i absolutely love these! Actually i love every single thing you make lol but im wondering instead of “cutting” could we tear the strips like rip?? Ill def be making for my 2023 Christmas ❤️
Hi Kimberly,
If you use a thin cotton fabric, you could tear it into strips. That would be a super cute look as well. Endless pattern choses too. Have fun creating your cloth Christmas trees. 🙂 xo
These trees are adorable..where do I get the drop cloth? Home Depot?
Hi Nancy,
I’ve tried the ones at Home Depot and they are very inconsistent. I purchase mine from Walmart. Be sure to wash then several times before using for projects. This will soften the material. Best wishes on your projects. 🙂
These are lovely, I can’t wait to try!
Thanks, Lil.
It’s a fun way to use up scraps of fabric too. The designs are endless. Have fun creating. 🙂
These trees are super cute. I’m adding them to my must make list for next Christmas!!!
Thanks for sharing.
Thank you, Shirley. They are super fun to make. Thanks for reading. 😊