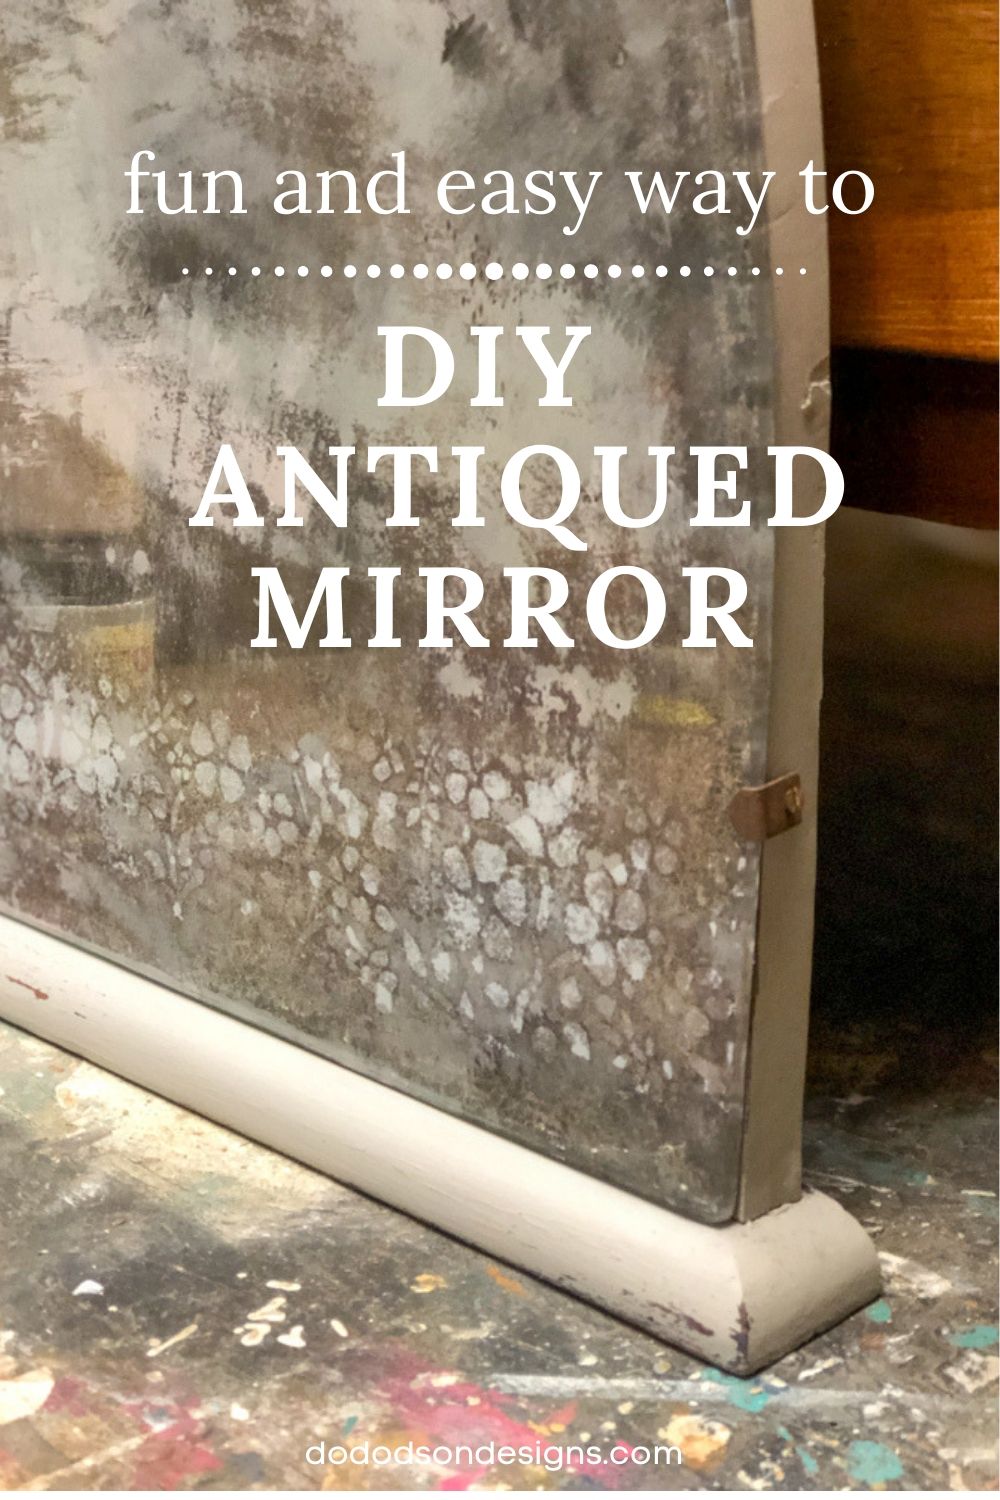
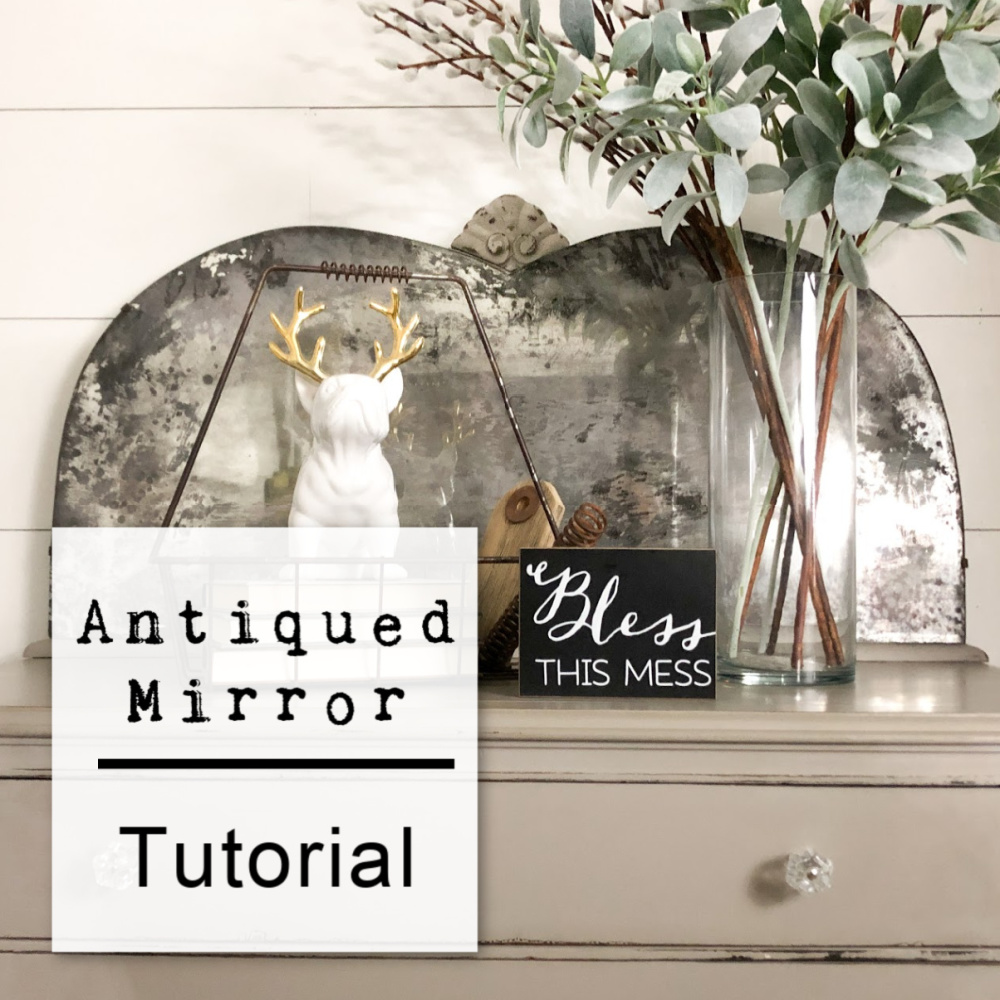
Guilty as charged! I’ve thrown away a lot of these old mirrors, and I bet I’m not the only one. Today I’m sharing how to update those old mirrors and save them from the landfills with paint. And you can add them to other pieces of furniture to create a one-of-a-kind creation, just like I did in this post. I can’t wait to show you. Let’s get started on this DIY Antique Mirror Tutorial.
This post contains a few affiliate links to help you find the products I use. You are not charged extra to use any of the links, but any income I make will be used for more fun projects! To see my full disclaimer, click here.
DIY Antique Mirror Tutorial
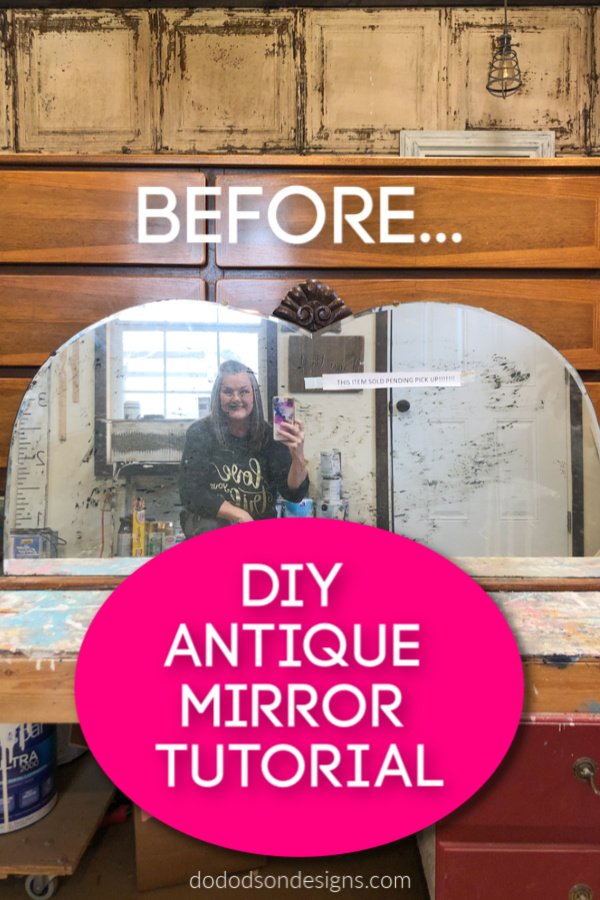
Supply List:
Below is a list of the supplies used for this project. Feel free to experiment with the paint colors to create your own unique look on your DIY antique mirror finish.
*The mirror used for this project came off of an antique dresser, and some of the paint had already been chipped from the back of the mirror. Score! Remember, every mirror is different, but this process should work on most.
Removing The Paint From The Mirror
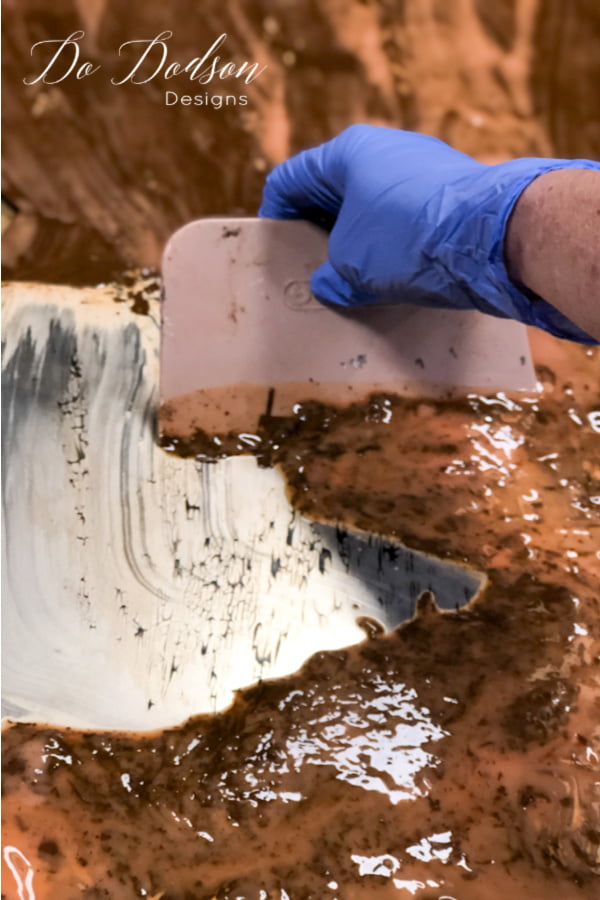
Firstly, start by removing the paint from the backside of the antique mirror. This can easily be done with a product called Citri-Strip. It has a pleasant orange smell and is safe for indoor use. But don’t forget those gloves because it’s super messy and it’s a chemical.
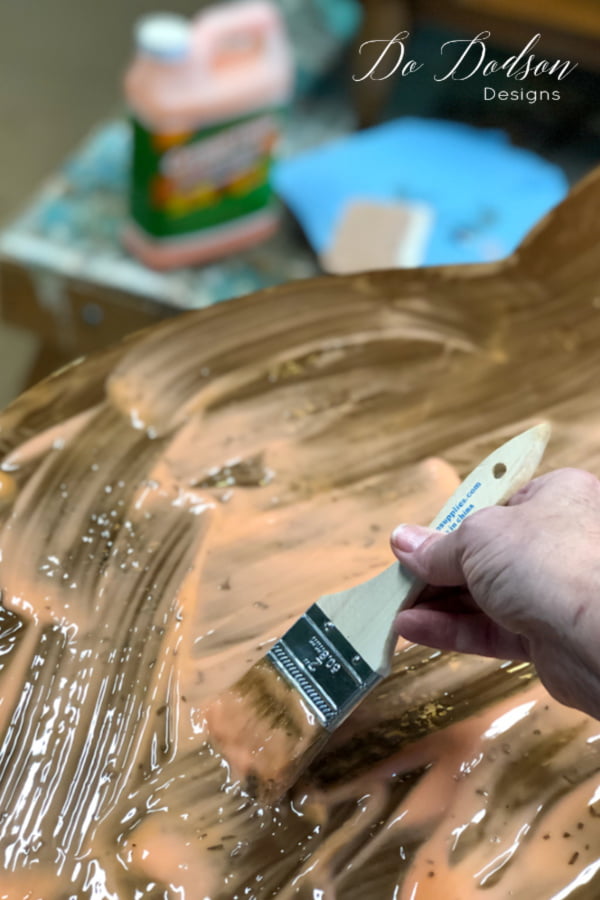
Apply the Citri-Stripe orange gel liberally to the backside of the antique mirror with a chip brush or an old brush you don’t mind throwing away. It’s a pretty messy process of antiquing a mirror. Then you wait! I waited 30 minutes as the instructions said, but it took 2 full hours before I could scrape away the old paint from the mirror.
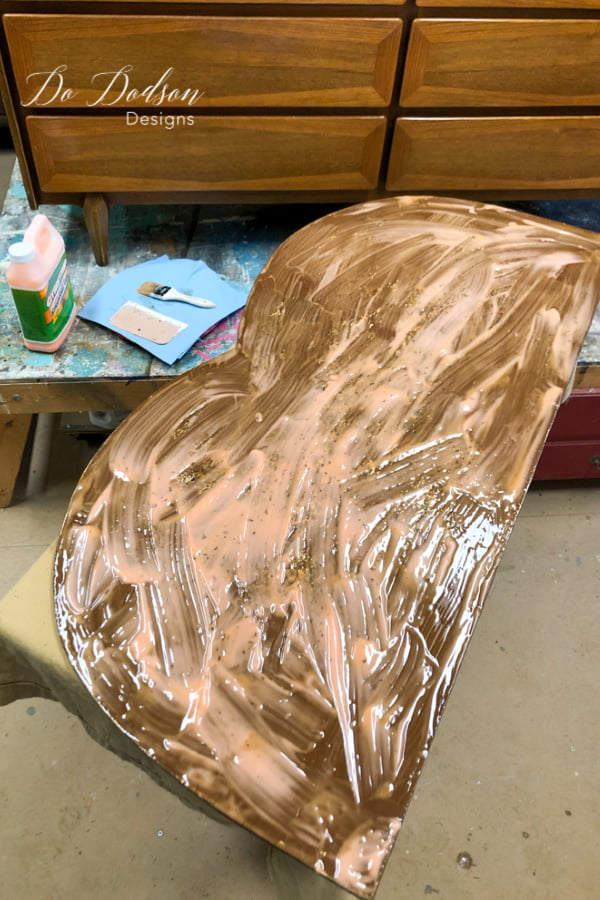
Be sure to use a plastic scraper when removing the old paint because you don’t want to scratch the mirror. Carefully scrape back the melted paint (the best part) to reveal the reflective back of the antique mirror. Once removed, clean the mirror back with water and paper towels. Be careful not to remove or scratch the reflective back on the mirror. The next step is creating a DIY antique mirror patina. Way cool!
Creating The Antique Mirror Patina
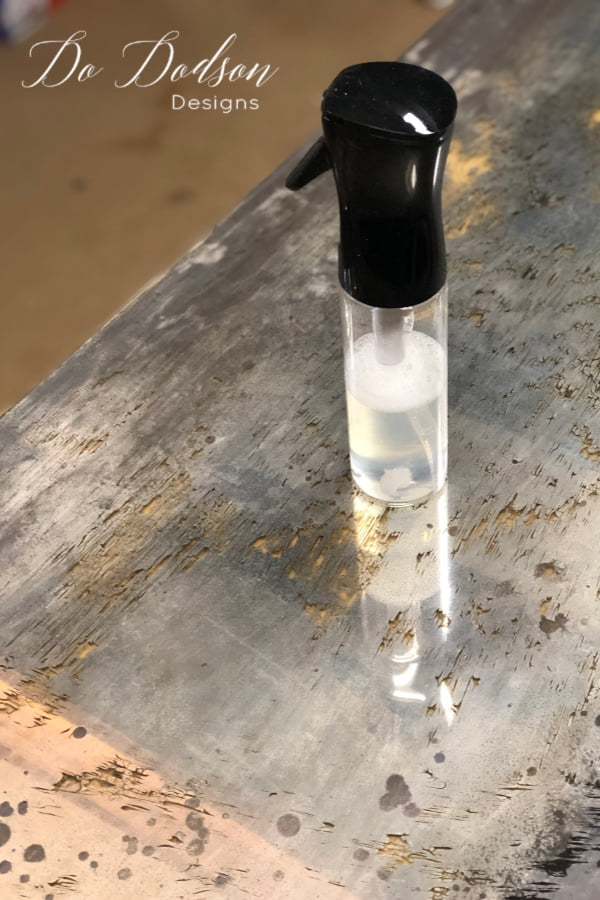
Secondly, the next step in creating a DIY antique mirror is to use a solution of bleach and water 50/50 mixture in a spray bottle and lightly mist over the back of the mirror. The water and bleach mixture will eat away the reflective back and allow you to see through the mirror. You can also use a dropper to create that beautiful round age spots. You can use a dropper if you wish, but I just opened up the spray bottle a shook droplets from the sprayer. Let the mixture do its magic for a few minutes before blotting it off with a paper towel (or soft cloth). Be sure to blot and NOT rub. Rubbing will cause scratches in the mirror. If this happens, no worries! It happened to me, and it still turned out okay. You know, I think perfection is overrated anyway.
If You LOVE fancy… Try Adding A Stencil
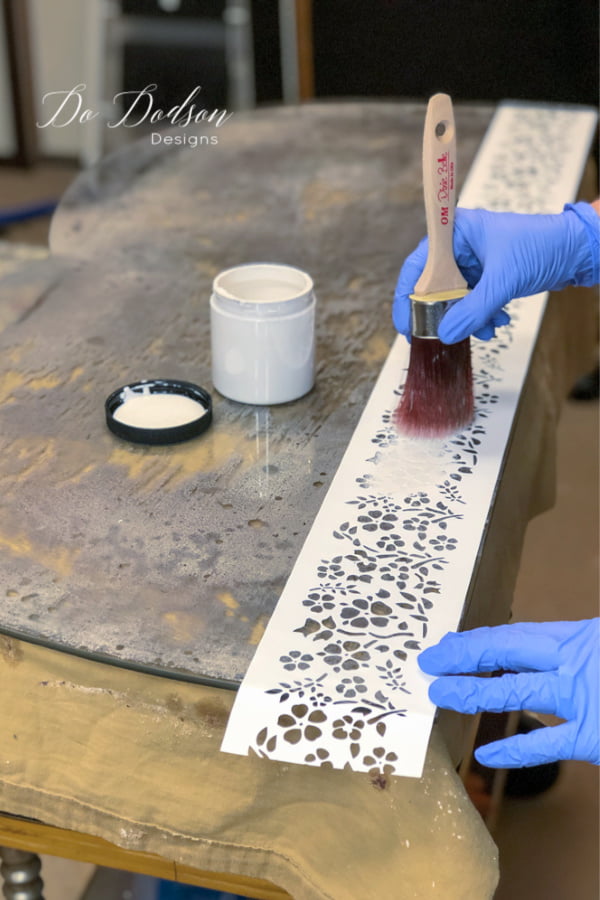
Thirdly, before painting the back of the antique mirror, try adding a stencil. This can add a personalized touch and BONUS… if your mirror makeover is an addition to another piece of furniture, you can customize the look for a great match. This one is going on my vintage dresser. It has the same stenciled pattern on the front of the dresser.
How To Create Peek-Boo Colors In The Antique Mirror
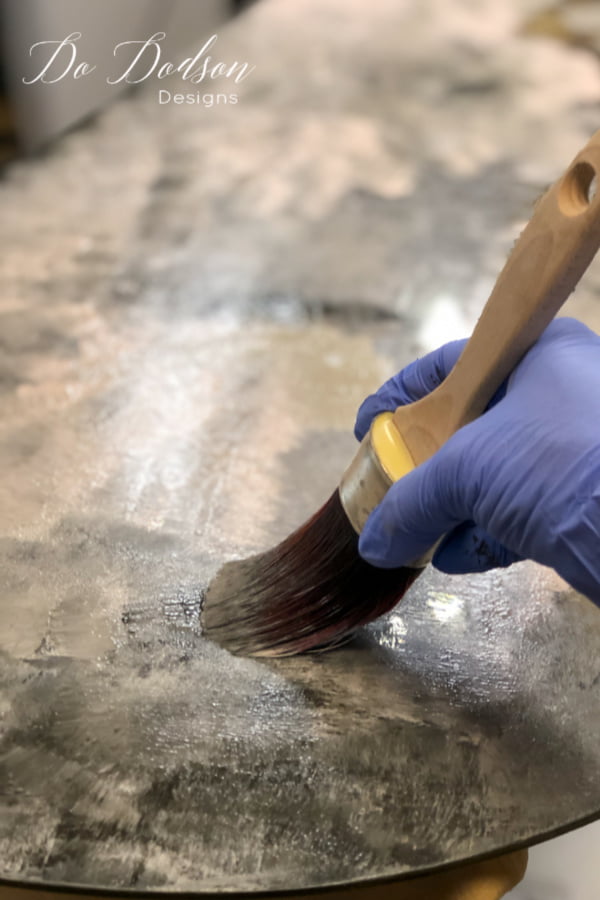
Lastly, add chalk mineral paint to the back of the antique mirror! Pick some fun colors that you love and go to town. I used a trio color combination and dabbed the paint on with a flat bottom brush. Kind of like a stenciling brush but much larger. This will allow you to cover the large area of the back of the mirror with paint quickly.
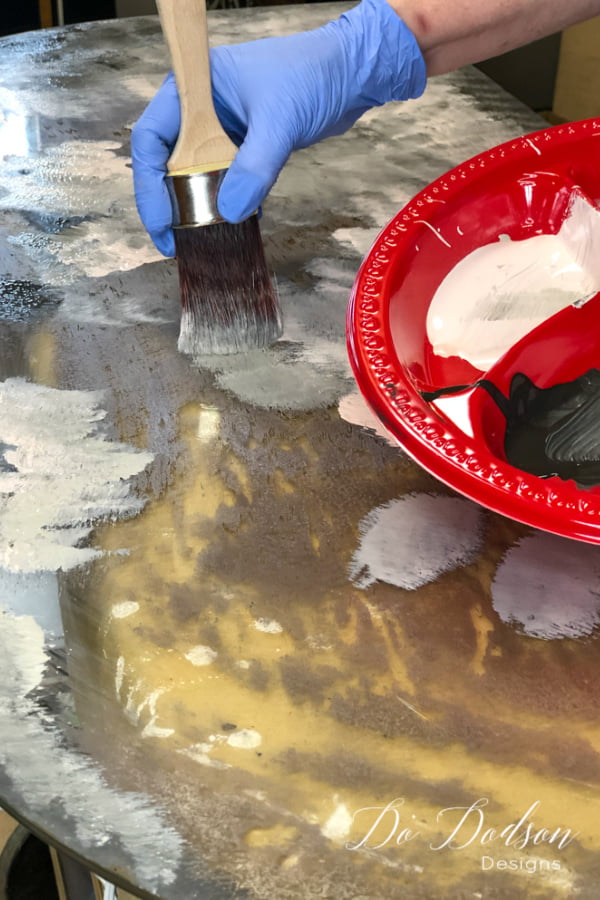
For this technique, I DO NOT recommend brushing the paint back and forth like we traditionally apply paint due to possible scratching of the reflective layer. Dabbing (not the dance, HA!) works great! Allow your mirror to dry thoroughly, and you got yourself an AH-MAZING mirror makeover that looks like it’s been loved by time. ♥
Mirror Makeover Results
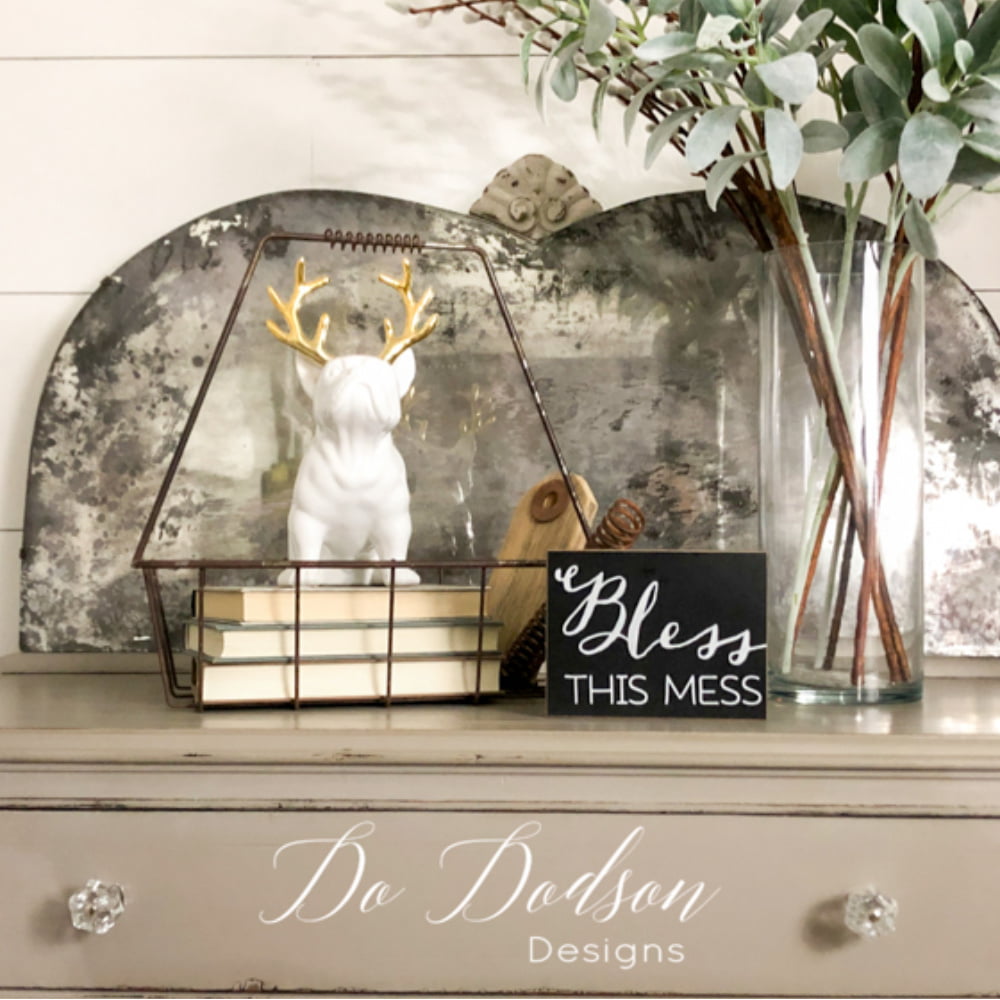
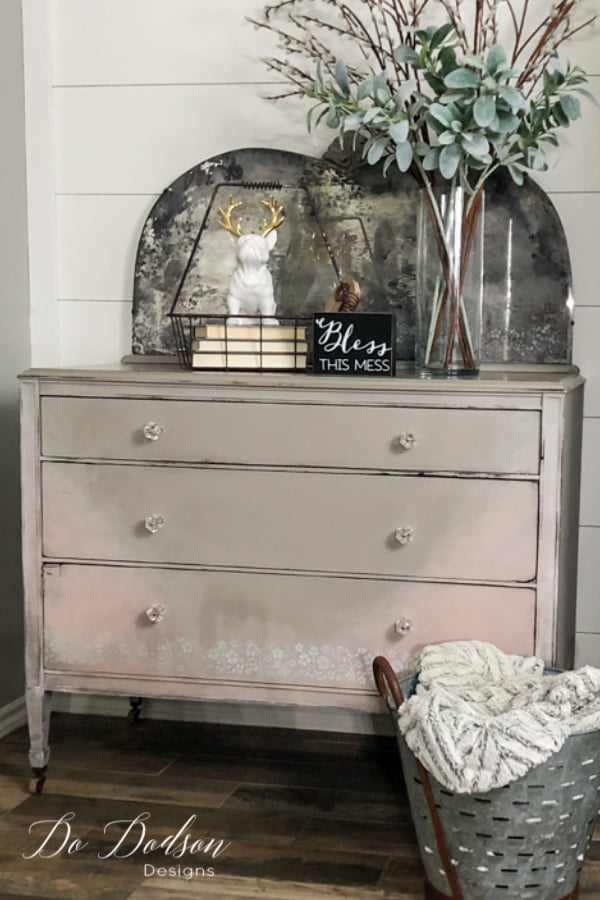
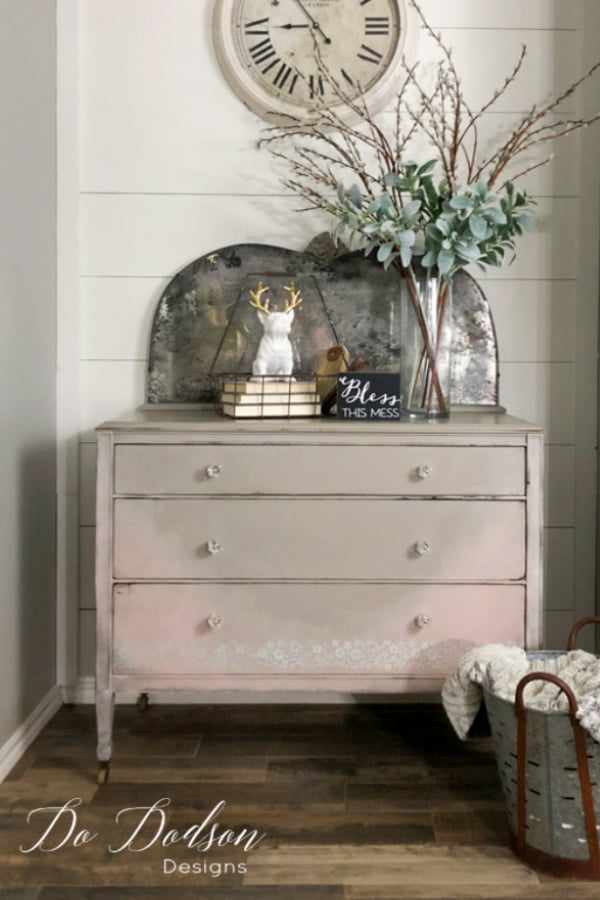
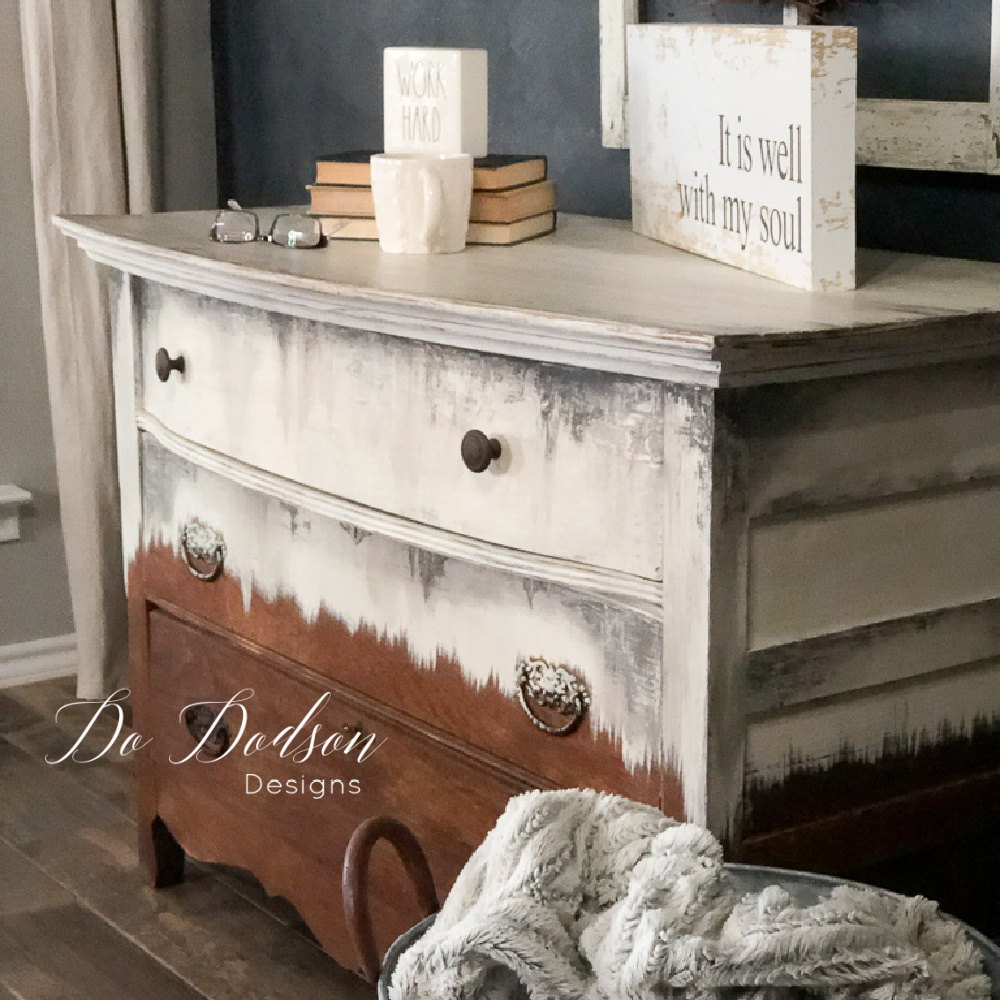
Wasn’t this a fun project??? I’m very pleased with the results, and even better, it was the perfect match for my little dresser—a marriage made in furniture heaven. So, grab that mirror from your garage and start your DIY antique mirror project. Try some different color combinations and make them your own. Or you can join me in The Art Of Painting Furniture to get all the details with a complete video tutorial of the process and so much more. Let’s create beautiful things together.
Until the next project… xo, Do


I love this and want to try it. So you didn’t need to go back and spray any of the reflective spray paint after? No sealing needed?
Thank you so much ?
Hi Diane, No reflective spray or sealer is needed for the mirror. Have fun with it and let me know how yours turns out.
xo, Do 🙂
Is this only on old mirrors or can I use a new one and get the same result?
Hi Suzanne,
Yes, any mirror that has a painted backing. Check the backs and if it’s painted, it should work. Have fun! 🙂 xo
Hi Do! I really want to try this technique. This is the first i have seen where it was stenciled and painted also. Leave it to you to take it up a notch and make it amazing! thank you for sharing and for all of your inspiration!
Thank you, Cheryl! I can’t take the credit for this. We all learn from others but the stencil was my idea. 🙂 I’m so glad you like it. xo
I’ve been searching for a real smoky diy look and how to make that happen! I’ve done one and it was a disaster lol! I want mine to look just like this! What colors of paint did u use? Looks like black and grey mostly?
Hi Stacey,
There’s a product list on that blog post for your reference of all the colors and where you can purchase them. And if you want the full video tutorial, step by step… It’s available in my membership video tutorial library along with over 30 other videos on furniture makeovers. Click here for more info on joining. https://members.dododsondesigns.com/join-the-art-of-painting-furniture-subscription-group/
Happy painting! xo, Do
if i decide to add a stencil after aging what paint or material to i use for the stencil?
Hi Melissa, I like chalk mineral paint because it adheres to the glass. There’s a product list in the blog that shows you what I used for this project. You can check there or here is the link to the paint I used #affiliate https://dixiebellepaint.com?aff=80 Have fun with your project. 🙂
Hi! Love this mirror! Dumb question but you added the stencil to the back of the mirror, correct? And then painted over the entire back? Just wondering how it keeps from “erasing” the stencil pattern? I want to do this correctly 😊
Thank you!
Monica
Hi Monica, I allowed the stencil to dry completely before painting over it. That’s the trick. 🙂 xo
This is so beautiful
Thank you, Diane. I’m so glad you enjoyed this project. 🙂 xo
Do, this is a really fun technique. Thank you for sharing. Love the look of the antique mirror. It is beautiful!
Thanks for stopping by, Tammy. It is a good way to utilize all those mirrors. I’ve seen so many thrown away over the years. 🙁
What a great technique Do! I have a mirror in my workshop that this technique would work perfectly on! Thanks so much. Pinning!😊
Hi Cindy, thanks for stopping by. I think you’ll have fun with this technique. 🙂 xo
Hi! Tried this with a practice craft store mirror. The gray back came off easily within 30 min of applying the citri strip, but the back side has no thin gold reflective surface. It looks exactly like the front of the mirror. When I apply bleach nothing happens.
Hi Jami! The craft store mirror probably isn’t a good option for this technique. I’ve had a lot of success with vintage mirrors.
Good afternoon,
I’m not sure what kind of bleach you use but what I’m using isn’t doing anything.
I’ve even put it on full strength and nothing.
What am I doing wrong?
Hmmmm, I don’t know. It’s always worked for me. Is the mirror your trying this on old? If it’s a newer mirror, there’s a chance it won’t work. Perhaps that’s what is happening.
Ho Do, I’m looking thru my Pins trying to fund a mirror distress tutorial. Did you cover the back with the paint or did you just dab.the pain in certain areas?
Hi Cheryl,
I painted the back after distressing the front.
Hi Do! Great tutorial! Question? Did you seal the back after you were done? Thanks
Hi Kim! Thanks!
I did not, but you can. I didn’t see the need since the mirror was against a wall. It’s a lot of fun, and you can create many looks using this technique. I especially loved adding the stencil. Have fun making yours. 🙂 xo
Such a great way to salvage those old mirrors! This turned out amazing Do! XOXO
Thanks, friend. It surprised me how well it turned out. 🙂
Thank you for this wonderful idea! I am going to have to give this one a try.Wonderful job on the tutorial.
Thank you, Carolyn! It surprised me so I knew I had to share it. Thanks for stopping by. Have a great week. 🙂 xo
Oh, that is so gorgeous! I love the stencil effect. I think you hit a home run on this one!!!
Thank you, Leslie! I was so happy to be able to salvage it. Thanks for reading. 🙂 xo
I want to do this technique to all my mirrors! Thanks for sharing – I’m sharing this post with my readers in my weekend post this Saturday!
Thank you, Cindy. It’s a unique look that I think adds so much to those old mirrors. Who needs mirrors anyways. 😆
Isn’t there a spray to make a mirror?could I take a window make it a mirror with that product then do this to it? I would like to do it for my pantry door window.
Yes, I did this with an old window to decorate for Fall. The process is similar. Here’s the article. It’s two projects in one so read down until you get to the window part of the project.
https://www.dododsondesigns.com/fall-decor/