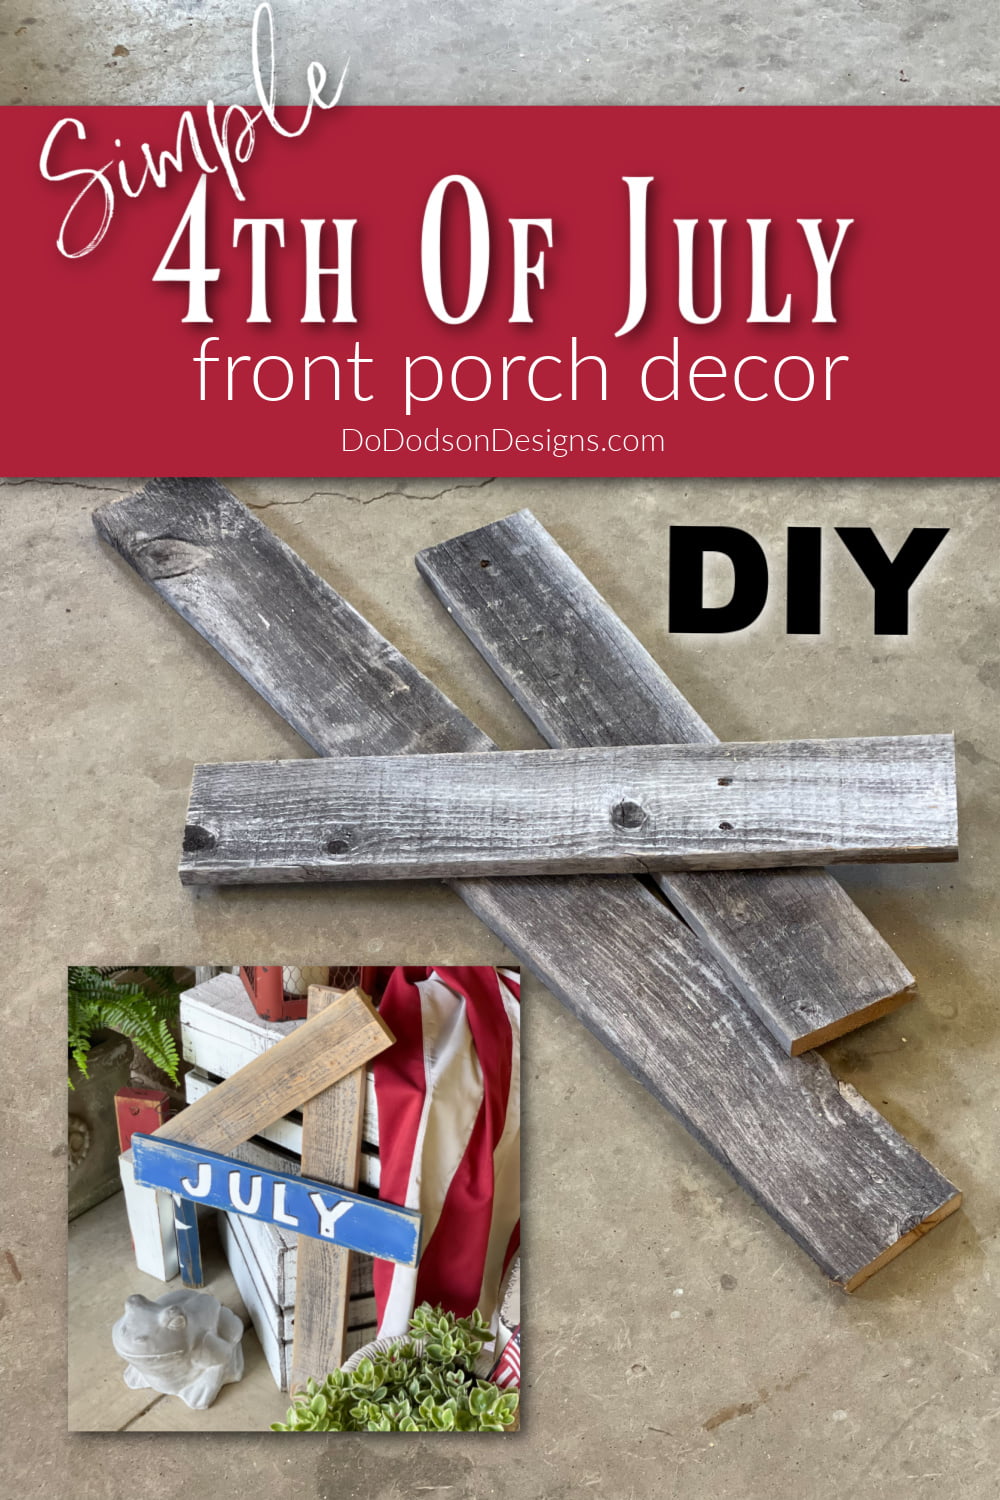
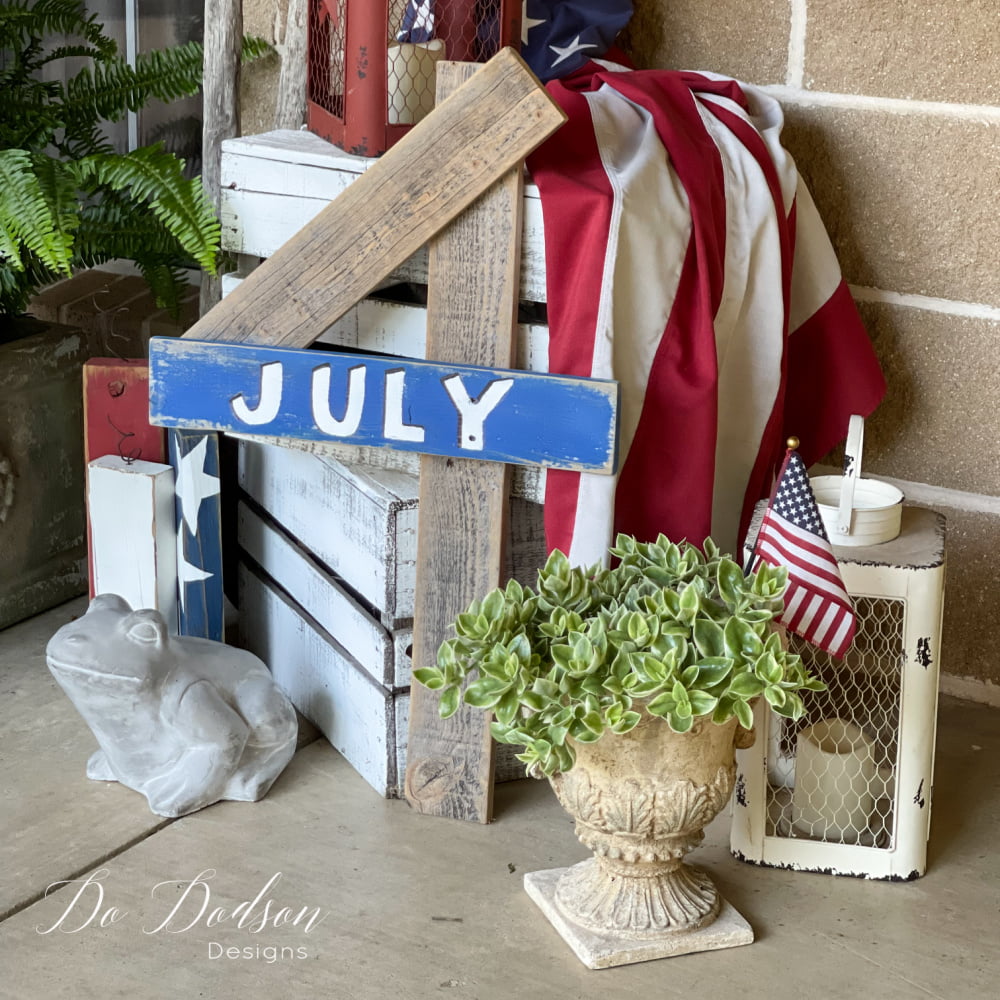
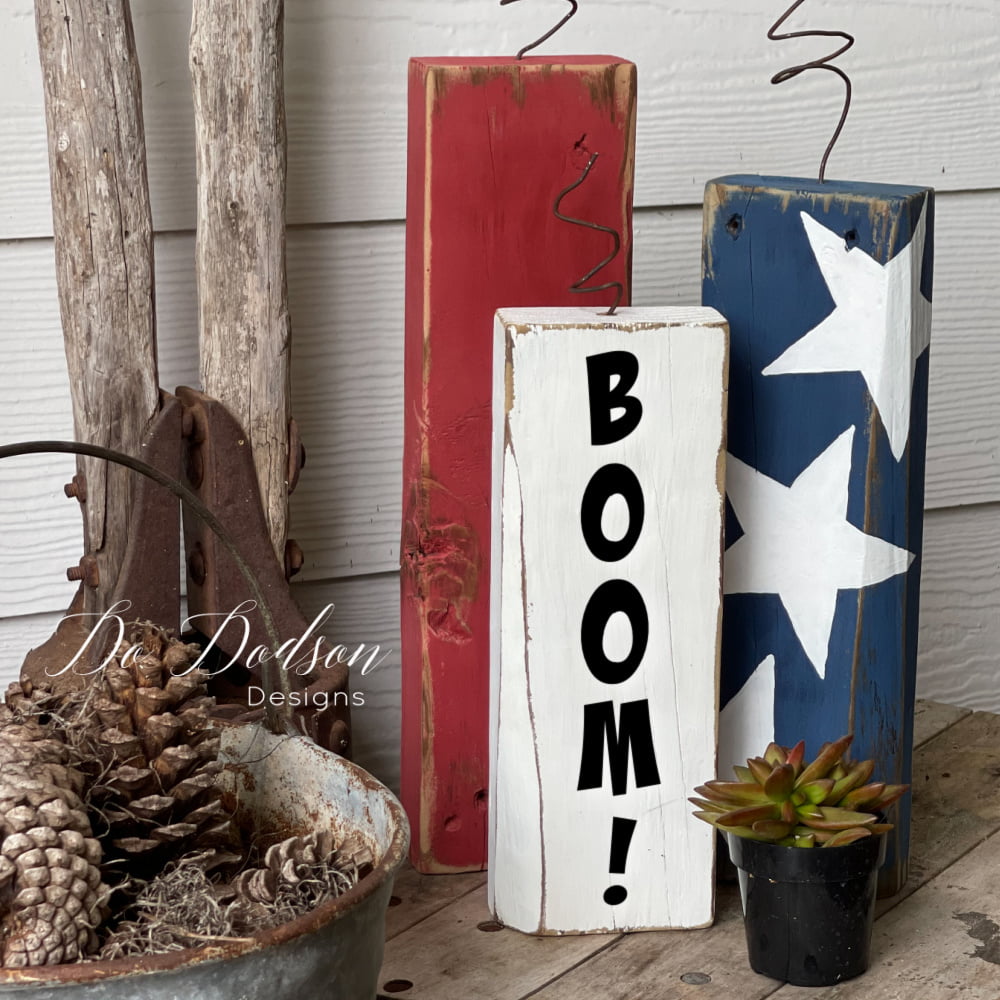
Of course, you could always run to your local craft store and pick up some cute patriotic decor, but where’s the fun in that? I craft for therapy, and I bet you do too. Today I’m going to show you how to DIY 4th of July decor for your front porch with a few pieces of rustic scrap wood. It’s almost too simple and screams farmhouse.
Thanks to Dixie Belle Paint Co for sponsoring this post. While I was compensated to write this post, all opinions are my own.
* As an Amazon Associate, I earn from qualifying purchases and through other companies as well. You will not be charged extra when you purchase through these links, but any income I make helps me create more amazing DIY projects to share with you! To see my full disclaimer, click here!
Simple DIY 4th Of July Decor – Rustic Wood Crafts
If you have been following me for any time, you know that I save all leftover wood scraps from my projects. I’m known to pick them up on the side of the road.
Fun crafts like this DIY 4th of July decor project (I made in minutes) feed my obsession with woodworking.
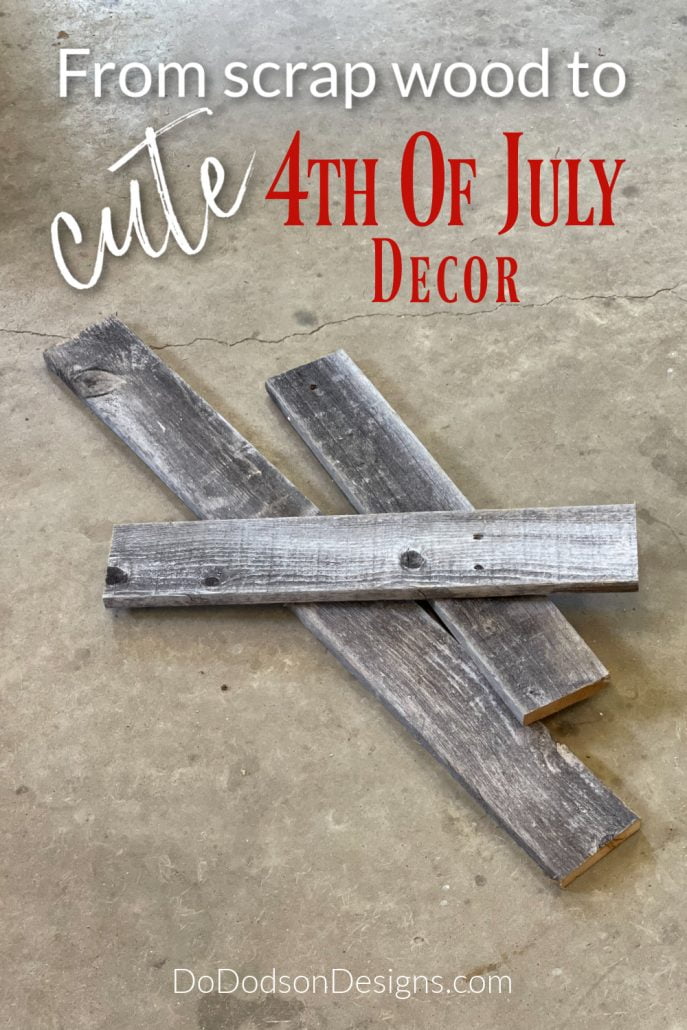

SUPPLY LIST:
- scrap wood ( I used 3.5 inch weathered fence pickets)
- 1 board (30 inches)
- 2 boards (19 inches)
- wood screws
- pencil
- speed square
- SurfPrep Sanding System or (grit 220 sandpaper)
- Cobalt Blue (chalk mineral paint)
- Cotton (chalk mineral paint)
- artist brushes
- black sharpie markers (for shading letters)
STEP 1: 4th Of July Sign
Gather your supplies, and let’s get this DIY party started!
First, you’ll need to cut the wood to the appropriate lengths. (see products list)
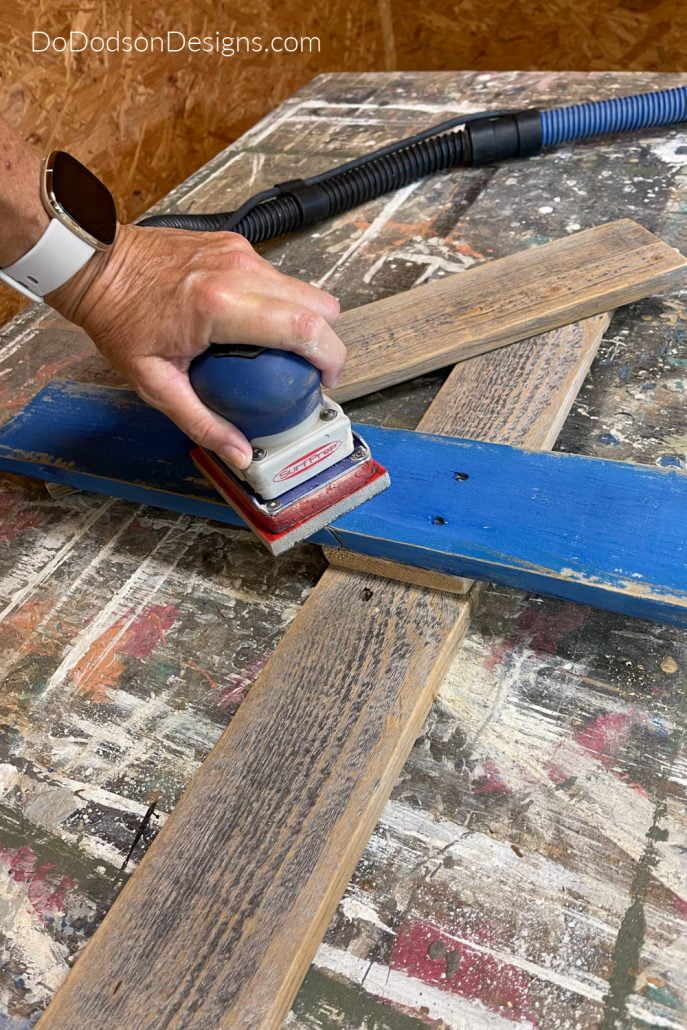
Next, you’ll need to sand your boards if they need it lightly. Smooth the rough areas, especially on the top cross pieces, if you plan on adding a stencil or custom lettering. Most lumber will be rough, especially old boards weathered like the ones I used. But that’s what gives these projects character.
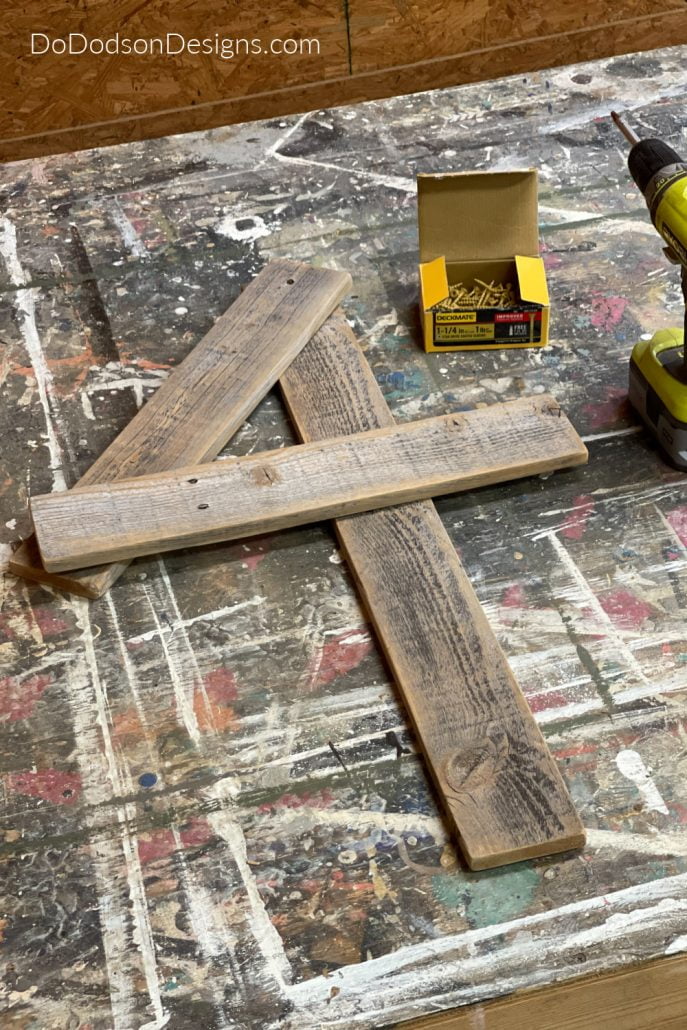
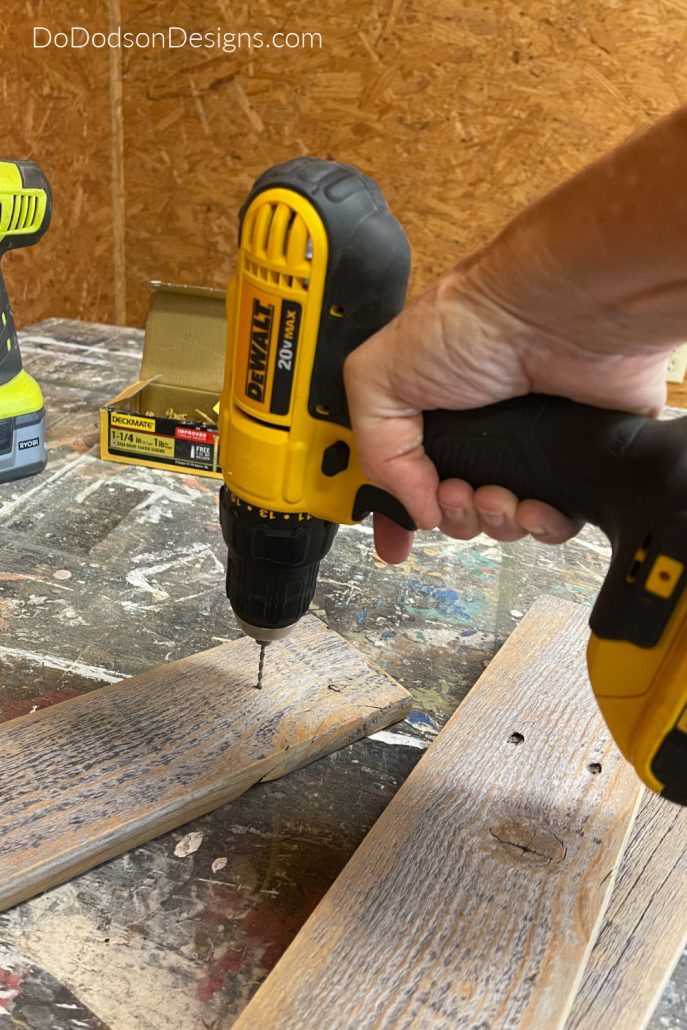
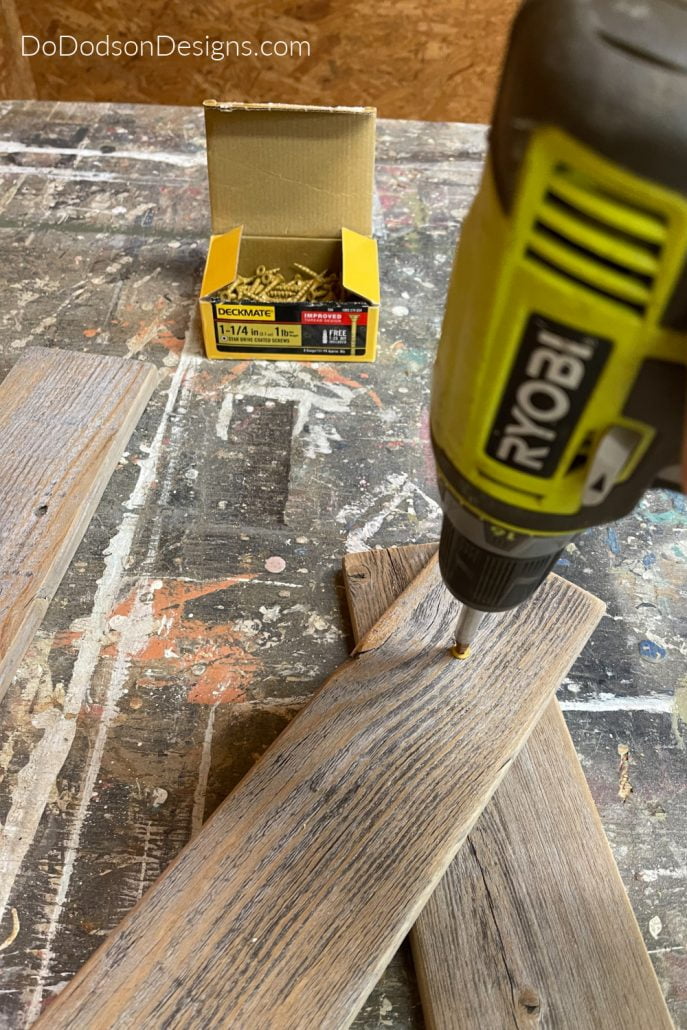
Decide how you want to attach the boards to create the number 4. I used wood screws and drilled pilot holes to prevent the brittle wood from splitting while securing them from the backside. It’s totally up to you how you connect them. You can also use wood glue and nail them together.
STEP 2: Add A Support
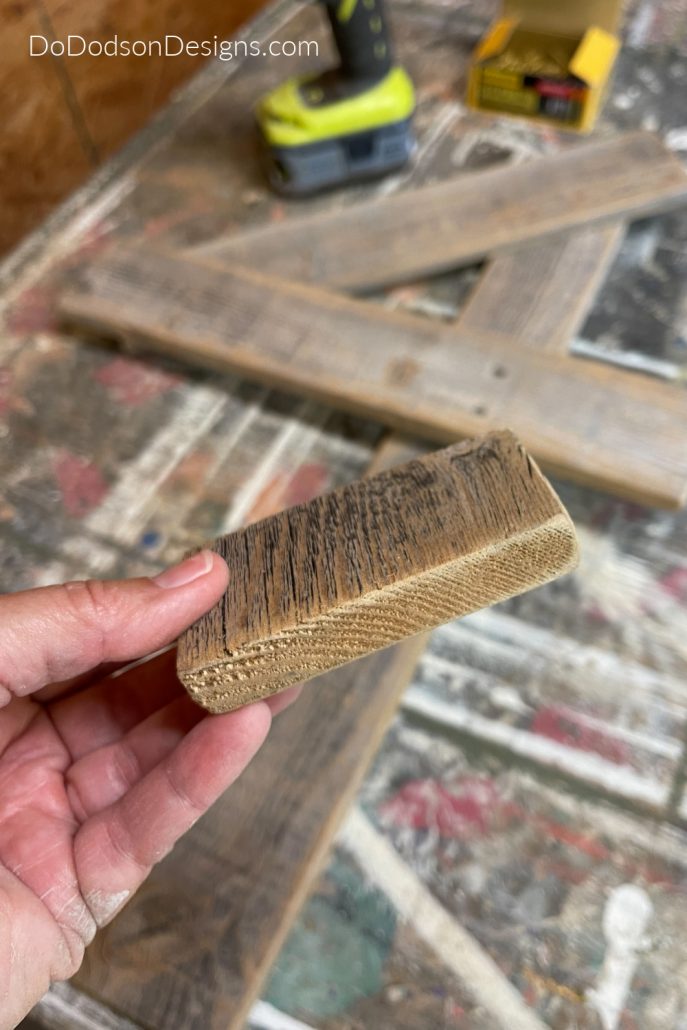
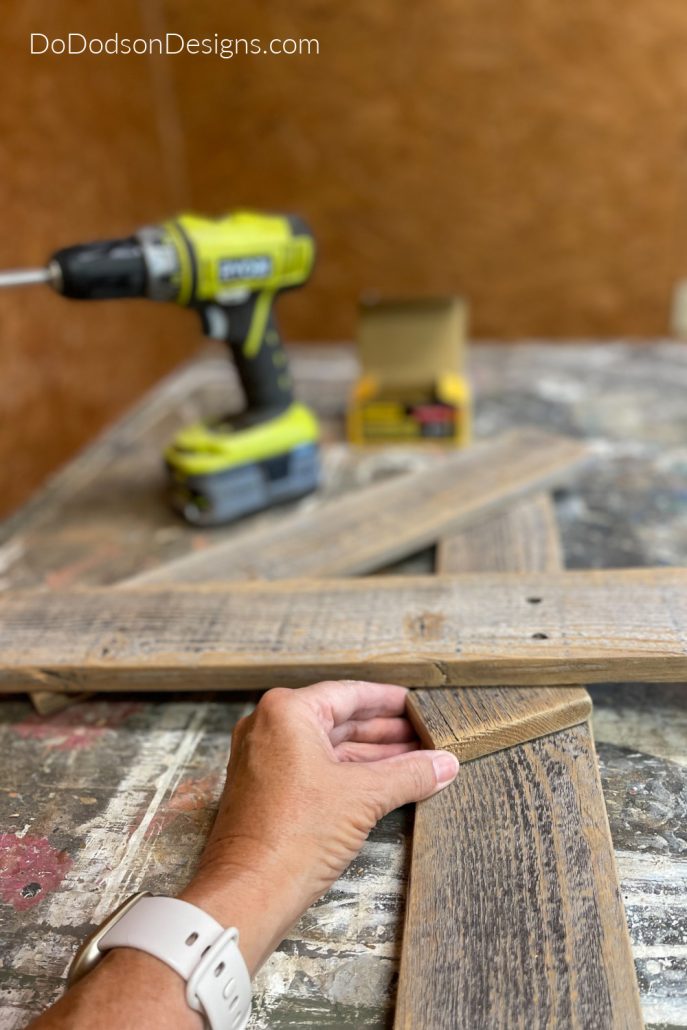
It wasn’t until I had secured two of the wood pieces together that I noticed a gap with the cross piece of the number 4.
Now, I realize that this is a rustic 4th of July decor sign, and it would have looked fine without an added block of wood to support the connection, but something inside told me to make it right.
The fix is simple. Cut a small piece of the same board and slide it between the two boards to make a solid connection. I added some wood glue before I secured the wood pieces with the wood screws.
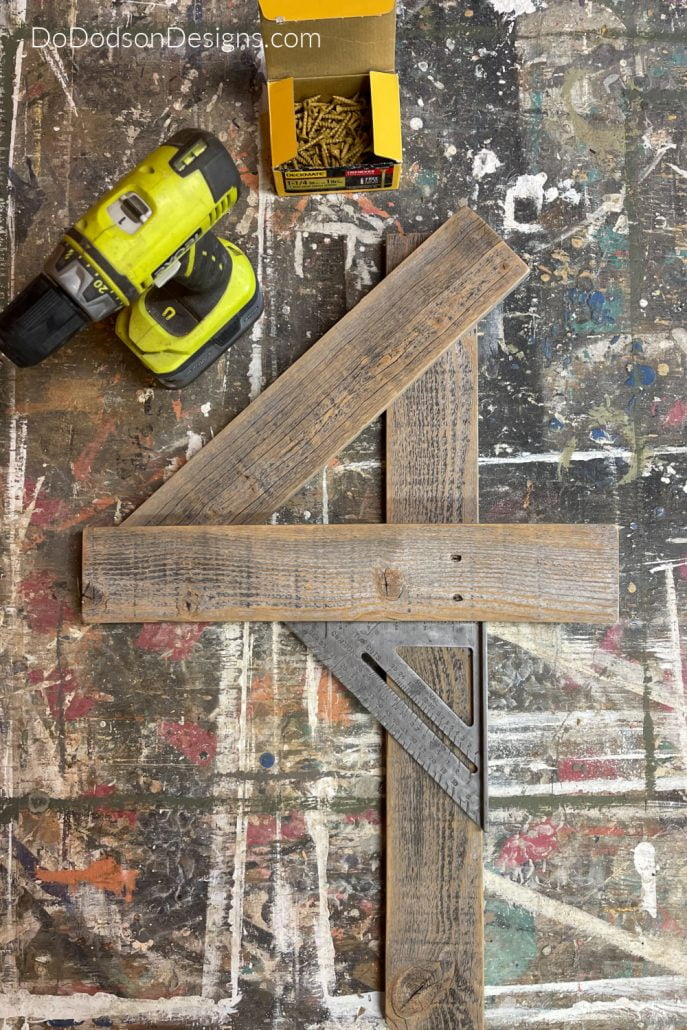
Use a speed square to make sure the number 4 cross piece is square. My husband notices these things, and that’s the only reason I used this tool. LOL
Go ahead and eyeball it! I won’t tell.
STEP 3: Painting Your DIY 4th Of July Decor Sign
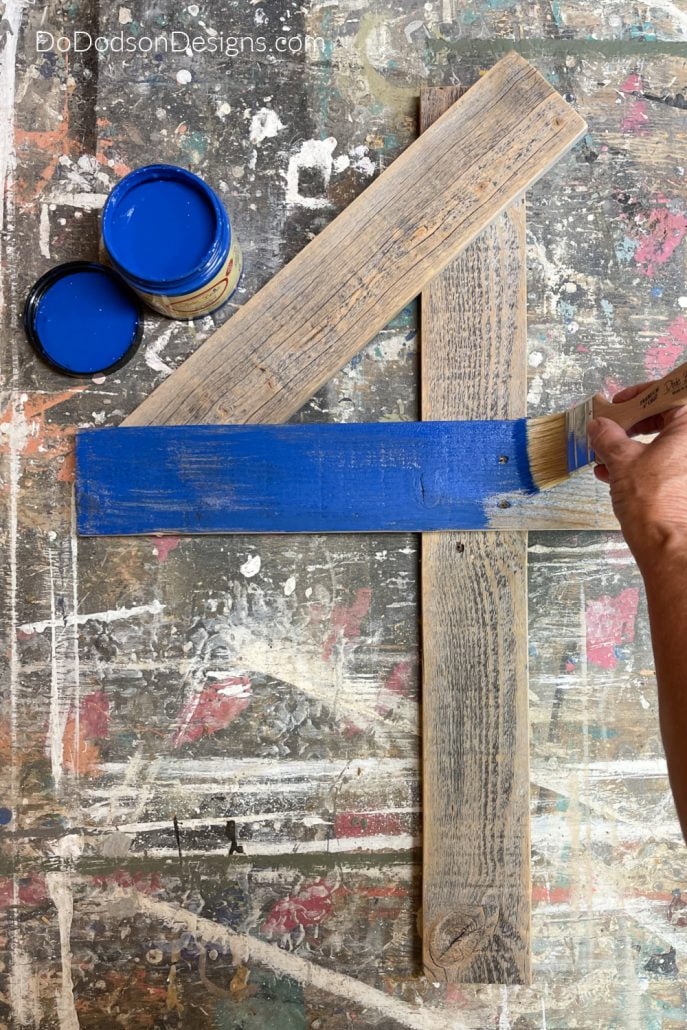
Grab your chalk mineral paint and get to painting. Red, white or blue, you decide. I used an inexpensive chip brush and gave the top cross piece of the number 4 a light coat (not full coverage) of this beautiful Cobalt Blue. I wanted my sign to stand out, so I went with a brighter blue than the traditional blue.
The chalk mineral paint dries quickly, so, within minutes, I was able to distress the paint back to reveal some of that rustic wood that I love so much.
STEP 4: How To Add Hand Lettering To Your 4th Of July Sign
I almost always chose hand lettering instead of stencils for a simple 4th of July sign like this one. Okay, okay, I hear you. But I promise it’s easier than it looks.
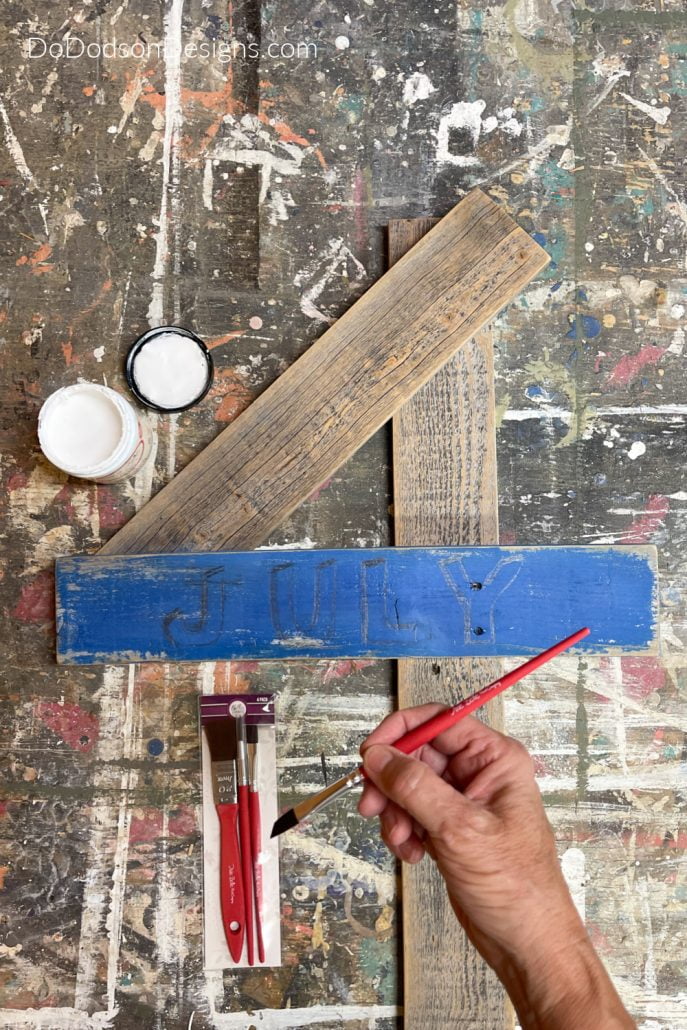
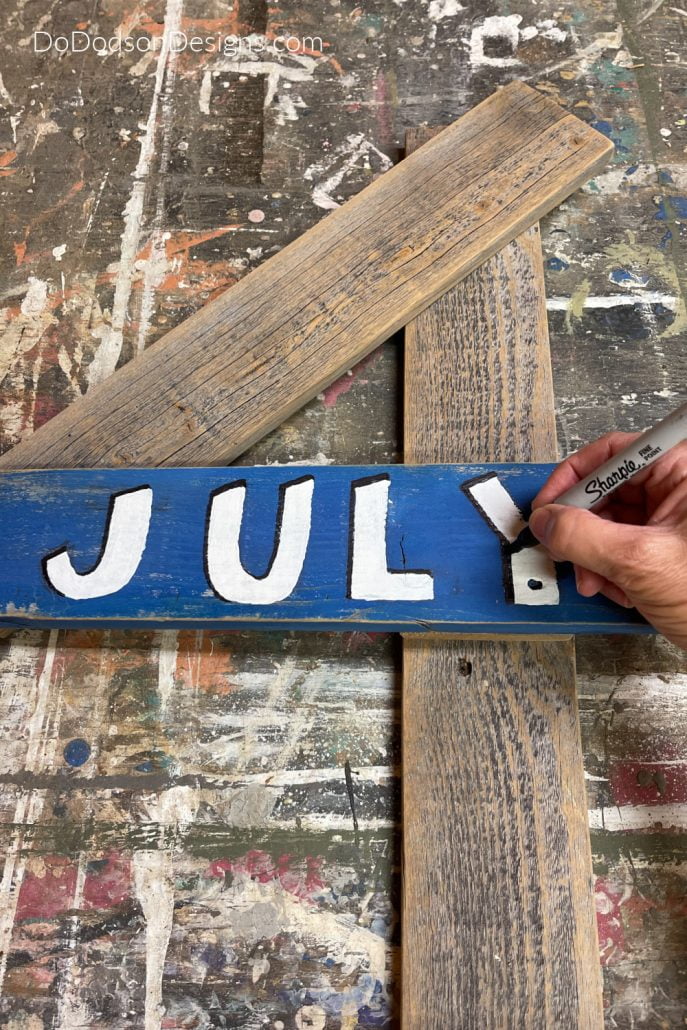
Before you grab the paint, take a minute and mark the center of your sign. JULY has only 4 letters, so measure out and mark guides on the board with a pencil for each letter. If I remember correctly, the letter spaces were 3 inches each.
With a pencil, lightly draw the letters out in each space. If you make a mistake, you can erase it with 220 grit sandpaper or a sanding block. Practice makes better, not perfect. There is no such thing.
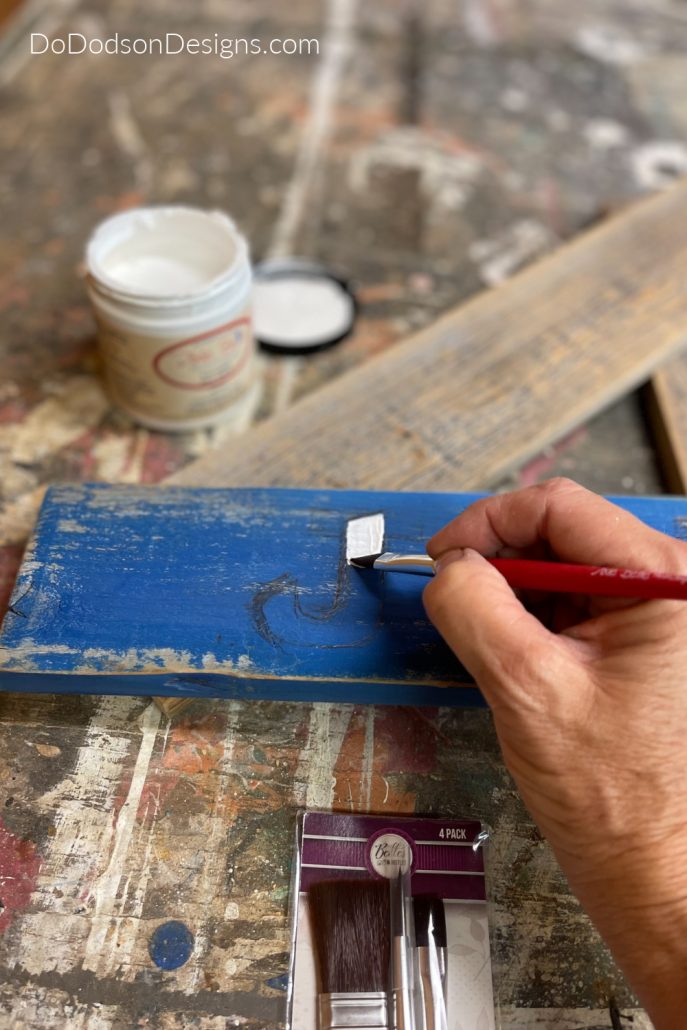
Now you can paint your letters using a chisel artist brush with confidence on your 4th of July Decor Sign.
STEP 5: Quick & Easy Letter Shading
Here’s a quick tip! After mastering your hand lettering, use a black sharpie marker with a fine point. It works well over chalk mineral paint. Use your pencil first to mark the areas you want to have a shadow and then fill it in. It’s that simple.
The only reason I tried this was that it’s all I had on hand. Use what you have got! I DO that a lot. It’s how we discover.
Here’s What My 4th Of July Front Porch Looks Like Now!
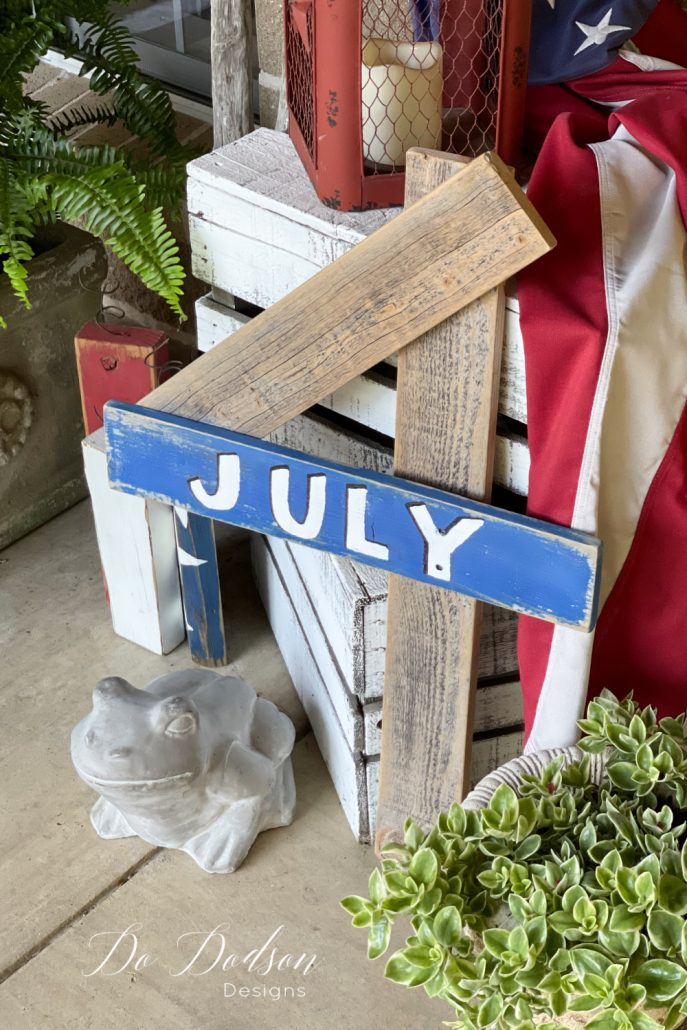
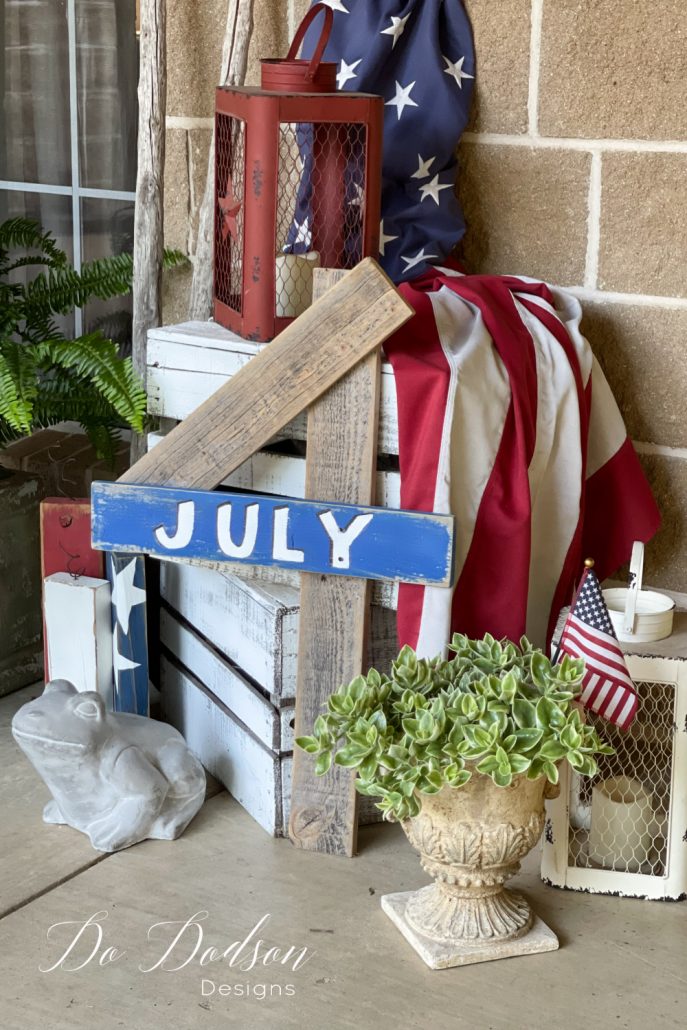
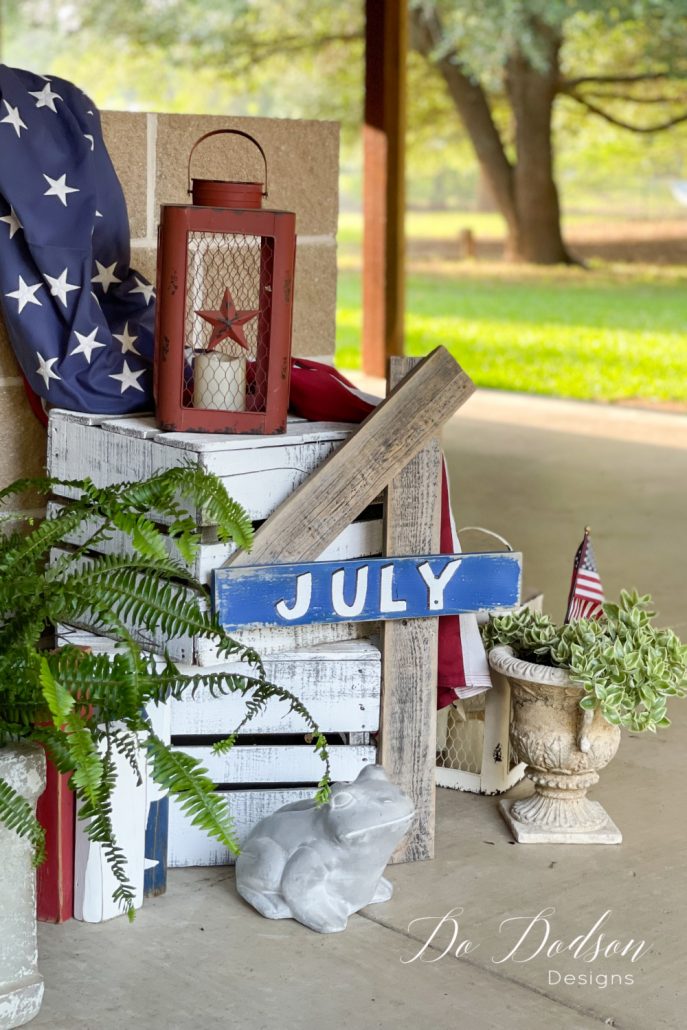
It’s so cute! I think it’s the perfect addition to the front porch of our New Ranch Home. It’s always fun to create fun home decor that greets our family and friends with the patriotic colors of the 4th of July. I love this time of year!
Hey! Thanks for stopping by today, and as always, we would love to know that you were here. Leave us a comment or just say hi, and don’t forget to share this DIY idea with your family and friends or for inspiration later on Pinterest.
Until the next project… xo, Do

Nice job
Thank you, Eileen! It’s so good to hear from you. 🙂 xo
I love this, Do! What a great use of scrap wood.You are the bomb diggity of crafting ideas! 😂😊
I love my craft time! It’s therapy to me. I’m so glad you enjoyed this post. 🙂 xo
So cute! Great idea, Do! I save all scraps too, lol
We are two of a kind, Cletia! But for the record, I’m not a hoarder. LOL 🙂 xo
Do, you are amazing. I so enjoy your ideas and talent.
🙂 Thanks, Leslie. I’m glad you’re enjoying them.
This is an awesome way to use picket fence sections! I have a ton of this kind of wood in my workshop too! Thanks for sharing – Pinned so everyone can enjoy it!
Don’t you just love these easy DIY projects? So fun! Thanks so much for reading and PINNING. You’re the best! 🙂 xo
I love this! I don’t have much of a scrap wood stash but I am going to go through it and see if I have what it takes to make one of these for my front porch. Thank you so much for the inspiration…you are the scrap wood project queen!
Hi Mary Beth! I’m so glad you are enjoying my scrap wood projects. Once you do one, you’ll want to do more. Have fun creating! 🙂 xo
Love this cute 4th sign! You always have the best ideas.
This would look so cute on your gorgeous porch! 🙂 xo
This looks amazing and so easy! Love it, Do!
Hi Kim! You know I love me some quick and easy DIY decor. Thanks for reading. 🙂 xo