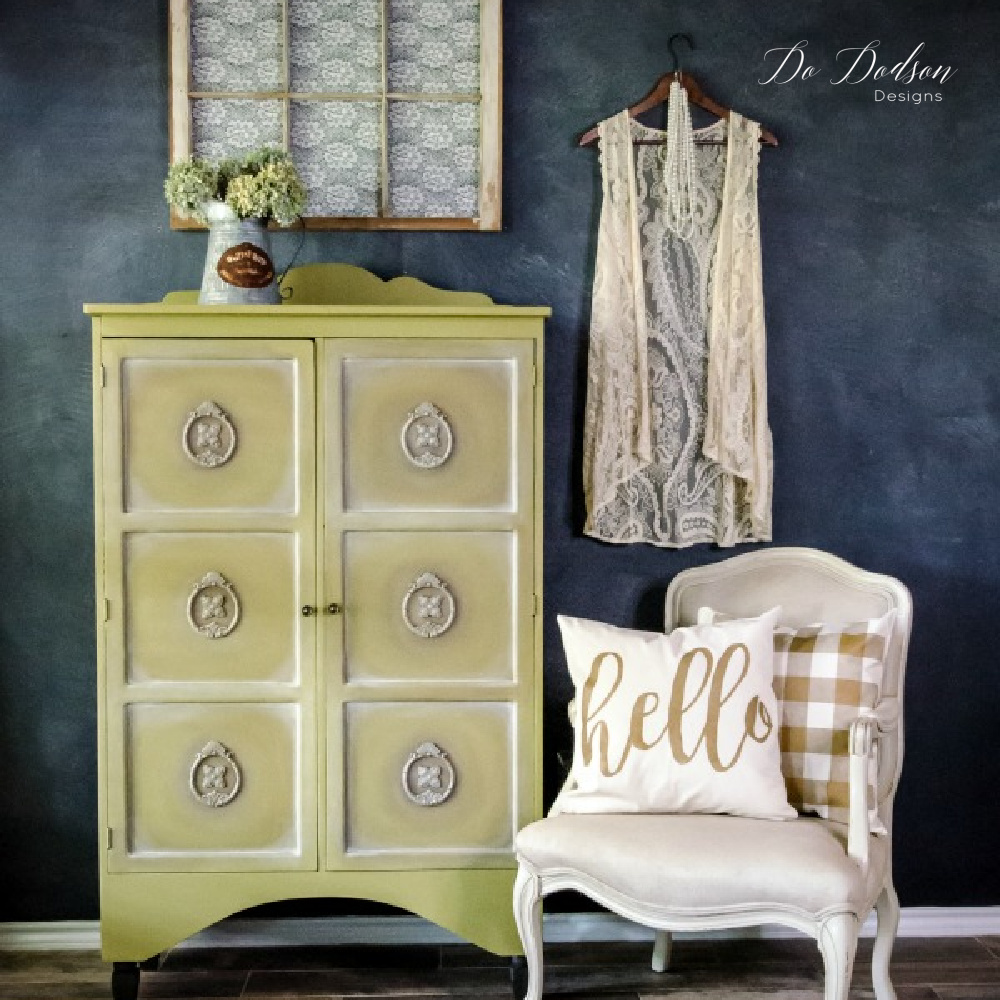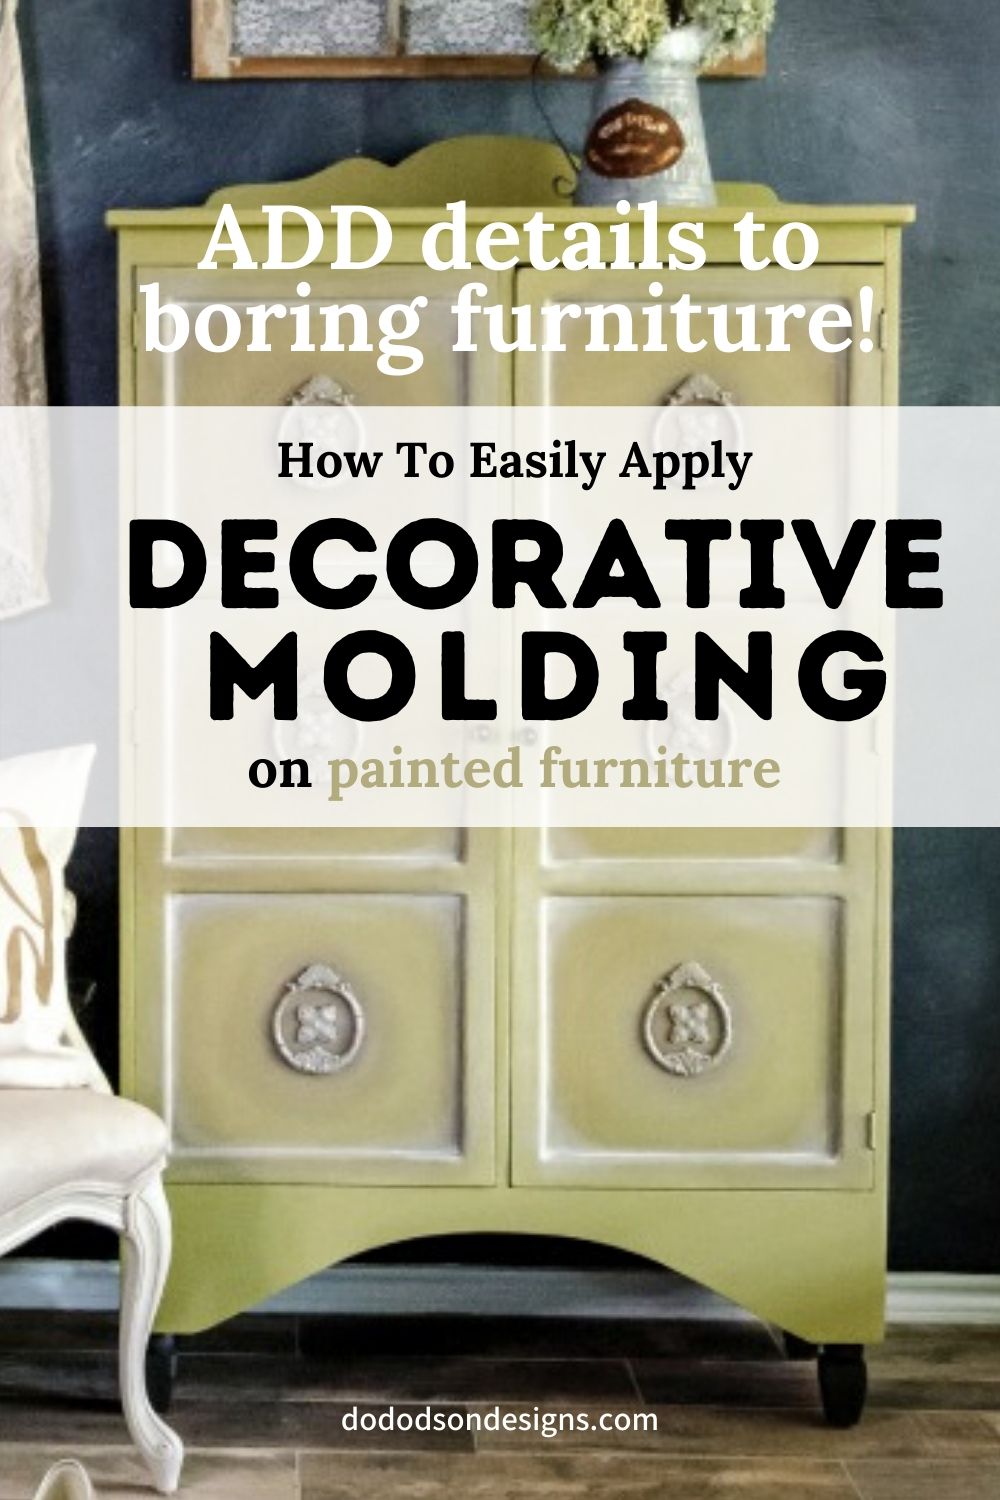
Got boring furniture? I added decorative mouldings by made from paper clay to create an amazing look on this plain cabinet. I can’t believe the difference it made! Get ready to have some hands-on fun when your working with this stuff. It feels like play-dough!
This post contains a few affiliate links to help you find the products I use. You are not charged extra to use any of the links, but any income I make will be used for more fun projects! To see my full disclaimer, click here.
Add
Amazing Details with Decorative Mouldings
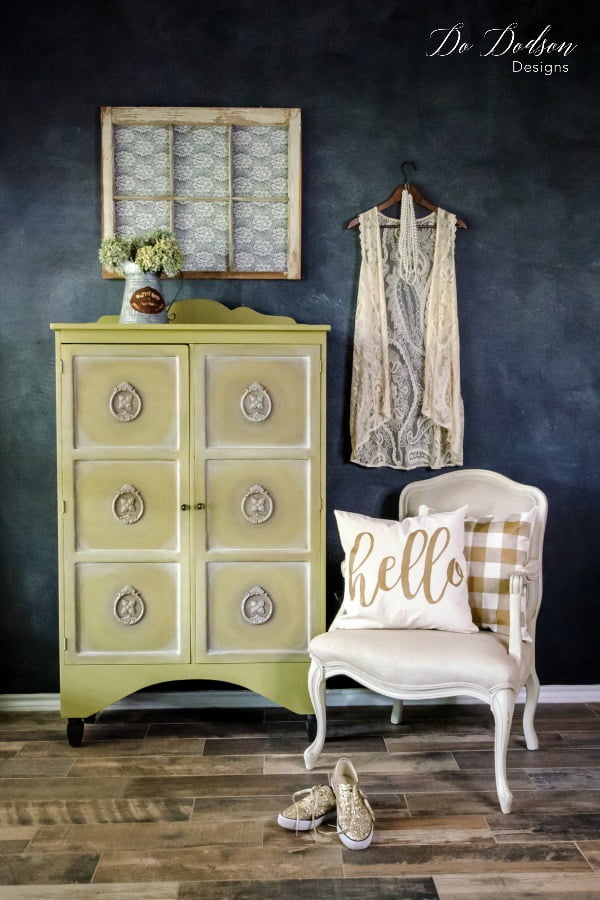
![This cabinet was very plain before adding the decorative moldings by [re] design by Prima. You should see it now!](https://dododsondesigns.com/wp-content/uploads/2018/07/decorative-mouldings-0.jpg)
Furniture Makeover with Decorative Mouldings Video Tutorial
In this video, I will show you step by step instructions on how to create these decorative mouldings for your furniture.
Securing the Decorative Mouldings to your Furniture
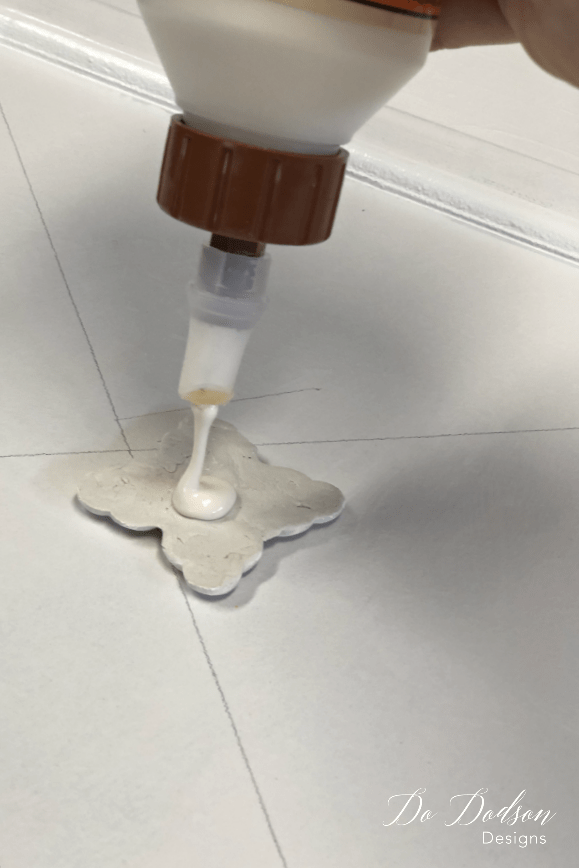 After you have created your designs use wood glue to secure the decorative mouldings to the surface of your furniture while they are still damp. Applying while they’re damp makes it easier to get good contact with the wood. You can mold them to fit any surface. Even a curved or rounded surface. This is a game-changer with furniture design.
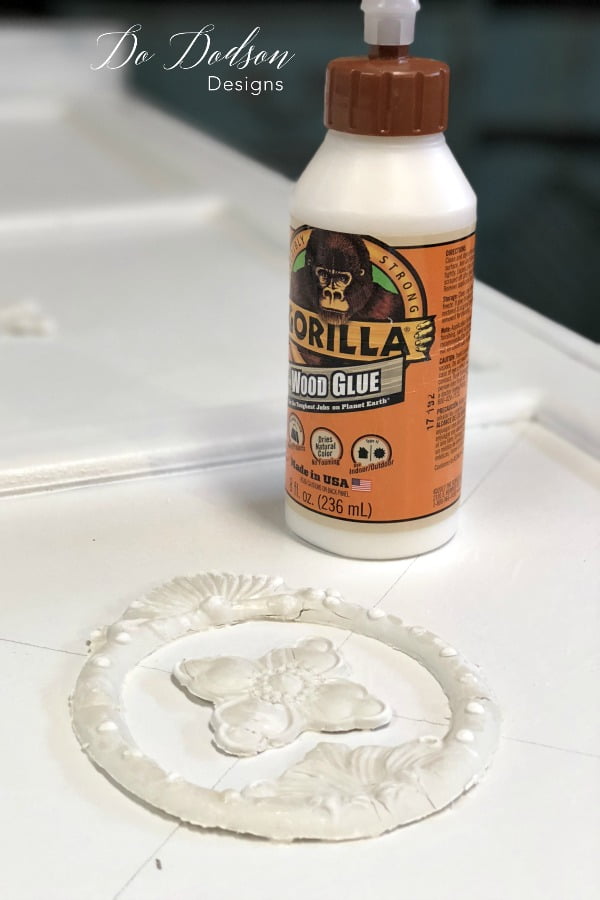 Using your hand, apply gentle pressure around the decorative mouldings until they are flush with the cabinet door. It’s best to have a flat surface to work on. In this photo, you will notice that the cabinet is lying on it’s back. This will ensure that the mouldings stay in place as they dry. After drying overnight, they were ready to paint. Aren’t these amazing? I especially loved the imperfections and tiny hairline cracks that became more noticeable as they dry.
Painting the Decorative Mouldings
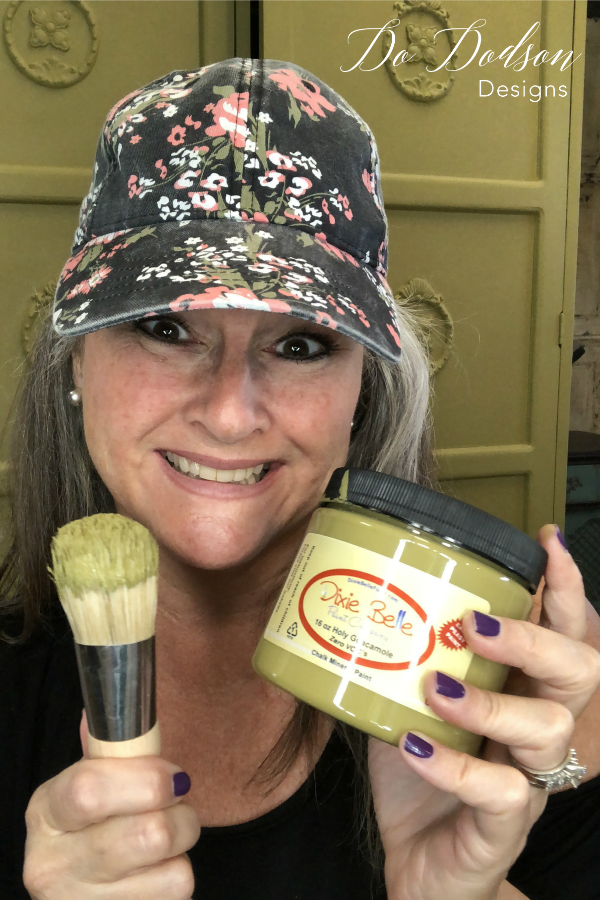 Holy Guacamole! What an amazing furniture paint color! Being a Texas gal, I’m kinda in love with the stuff. It’s making me hungry. Ha! When I started this project, I couldn’t make up my mind what color I wanted. After the first coat of Holy Guacamole, I was in love with this gorgeous, yummy vintage green.
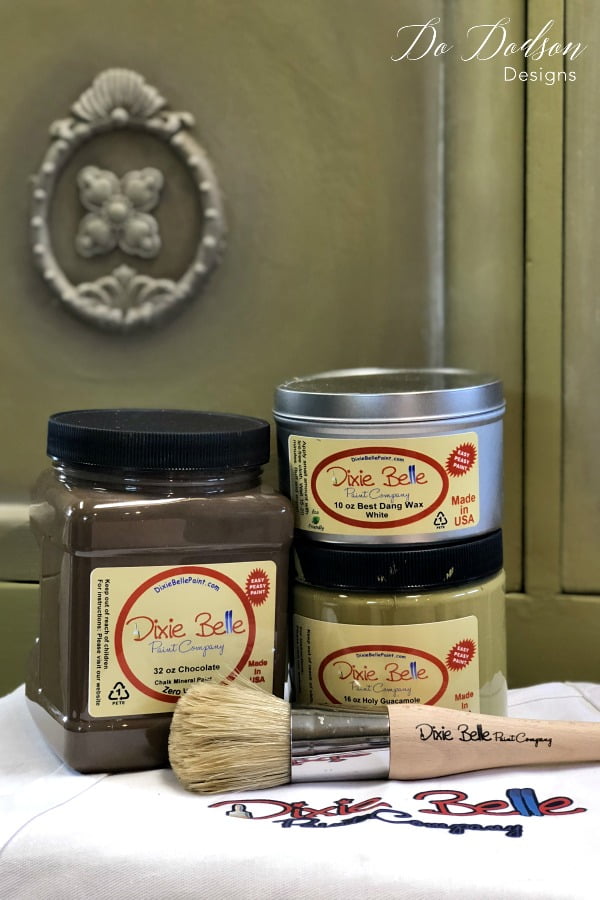
Products List:
- Decorative Appliques Moulds
- Paper Clay
- Gorilla Wood Glue
- Holy Guacamole (Chalk Mineral Paint)
- Chocolate (Chalk Mineral Paint)
- Best Dang Wax (White)
- Mister Spray bottle (water for blending)
- Natural bristle Belle Paint Brush
- Easy Peasy Spray Wax
The cabinet was painted with 2 coats of the HOLY Guacamole and blended with Chocolate on the decorative moldings and inside the square panels.
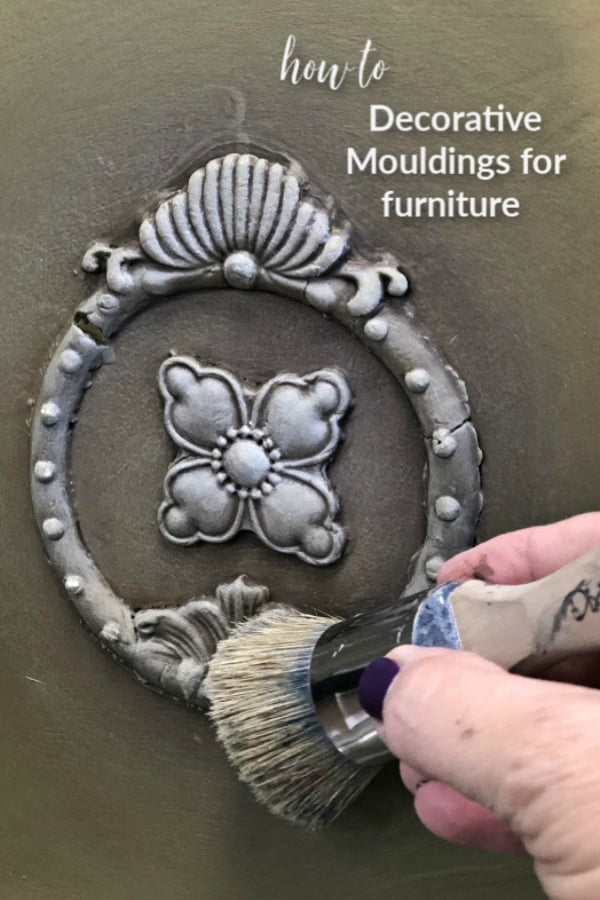
Then I added white wax over the chocolate. It gave the front of the cabinet a powdery soft look.
Staging The Vintage Green Cabinet
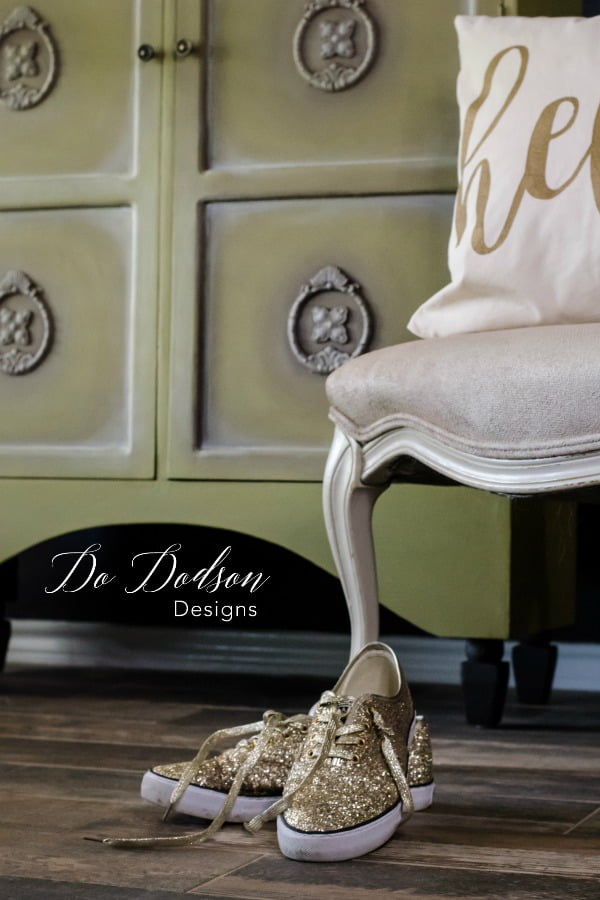 I love that adding the decorative mouldings made such a big difference in the appearance of this cabinet! And since a project can’t be complete without staging, I try my best to represent the piece in it’s best light. Here’s a tip for all you furniture stagers out there. Try to make your photos real by adding everyday items. Real like someone lives there. These are my favorite sparkly tennis shoes and it’s not unusual for them to land right where I take them off. Right in front of the chair!
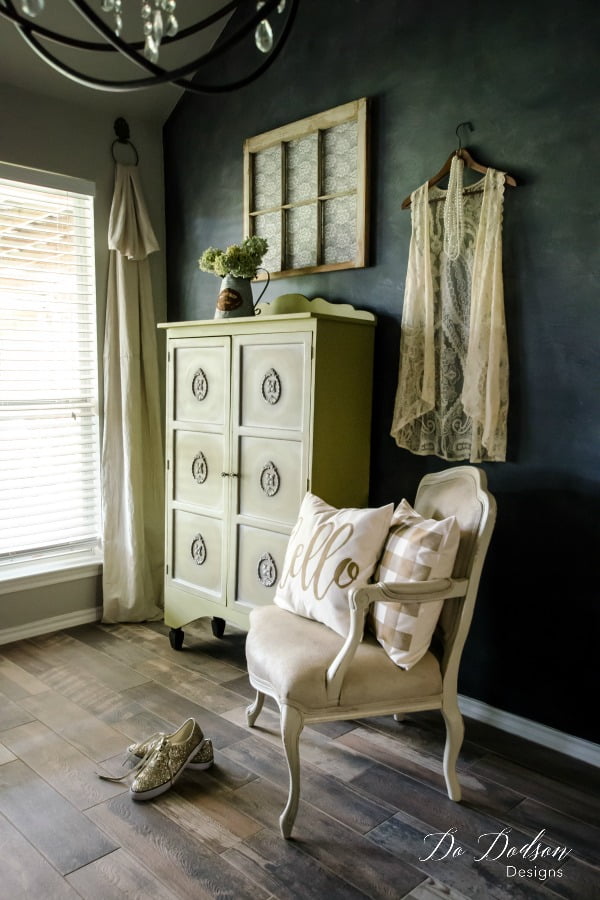 With this being a vintage cabinet, I pulled several vintage items into my vignette. The old window frame is from my Grandmother’s home. I removed it from the old home place before it was torn down and add the lace to the back of it. It works well for wall decor. And I still have a piece of her in my home. ♥
Did you know the fabric on the chair in this photo is painted too? Yep, you can paint the fabric on a chair too. Want to learn how I painted a sofa? CLICK HERE to see how I did it.
Hey, thanks for joining me today. I hope this inspires you to try these magical decorative mouldings to create your next one of a kind masterpiece. I also use pre-made wood molds that are bendable. If you liked these molds, you got to CHECK THESE OUT!
Until the next project… xo, Do

