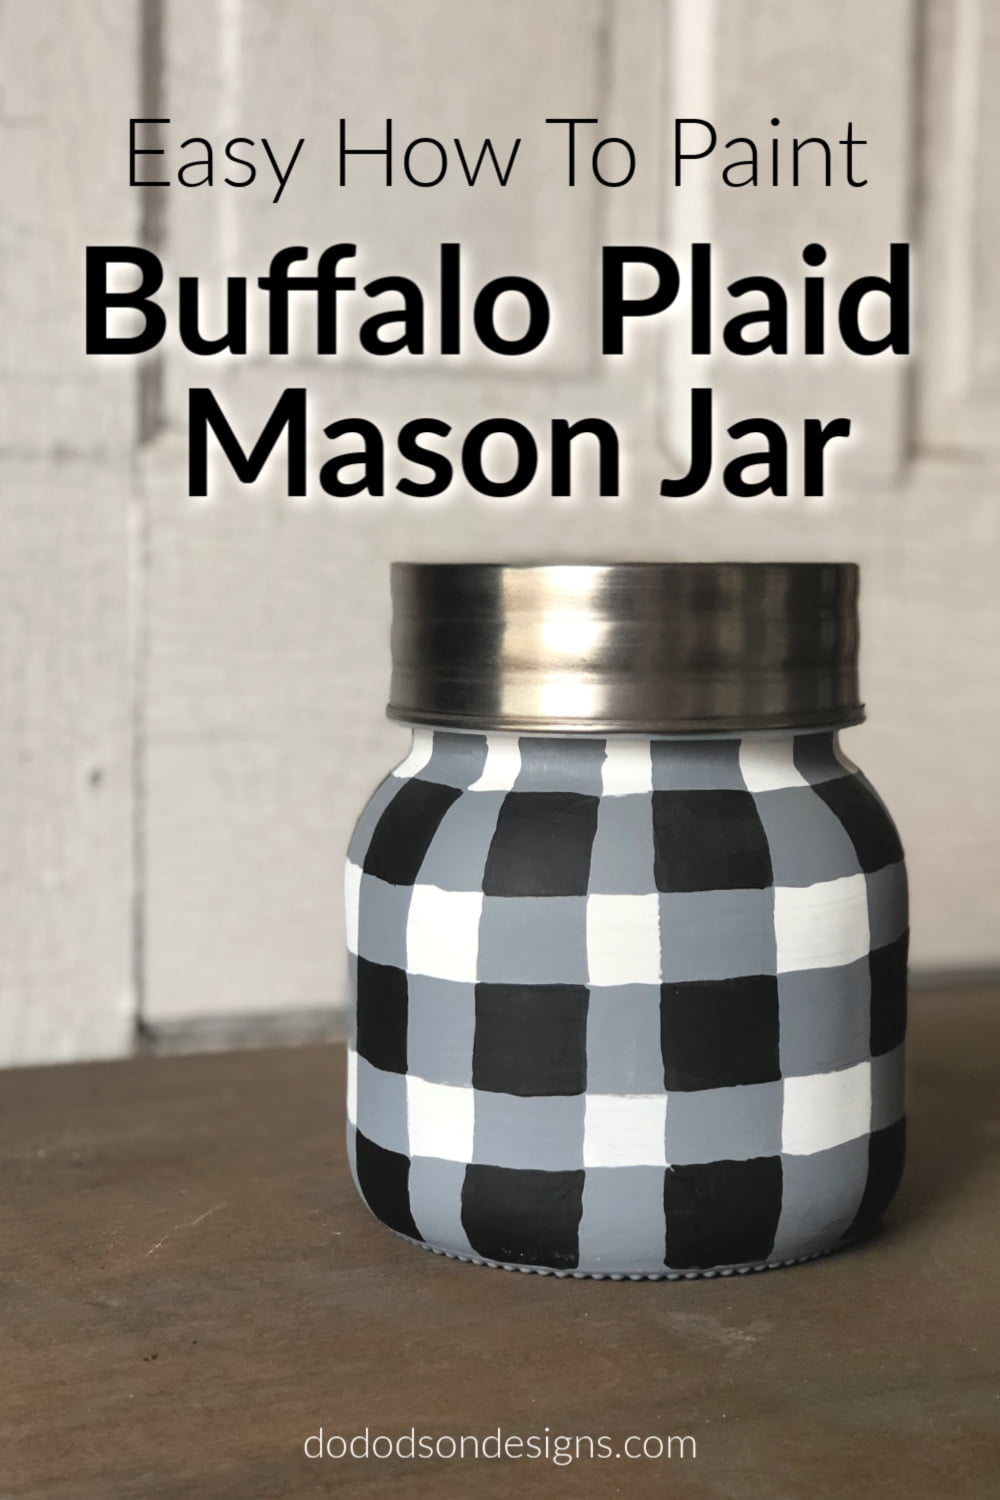
All I can say is that the buffalo plaid craze has hit me too! What is it about this simplistic lumberjack pattern making Farmhouse lovers go gaga for this look? It seems to grow in popularity every year, and this year is no exception.
This post contains a few affiliate links to help you find the products I use. You are not charged extra to use any of the links, but any income I make will be used for more fun projects! To see my full disclaimer, click here.
How To Paint Buffalo Plaid Mason Jar
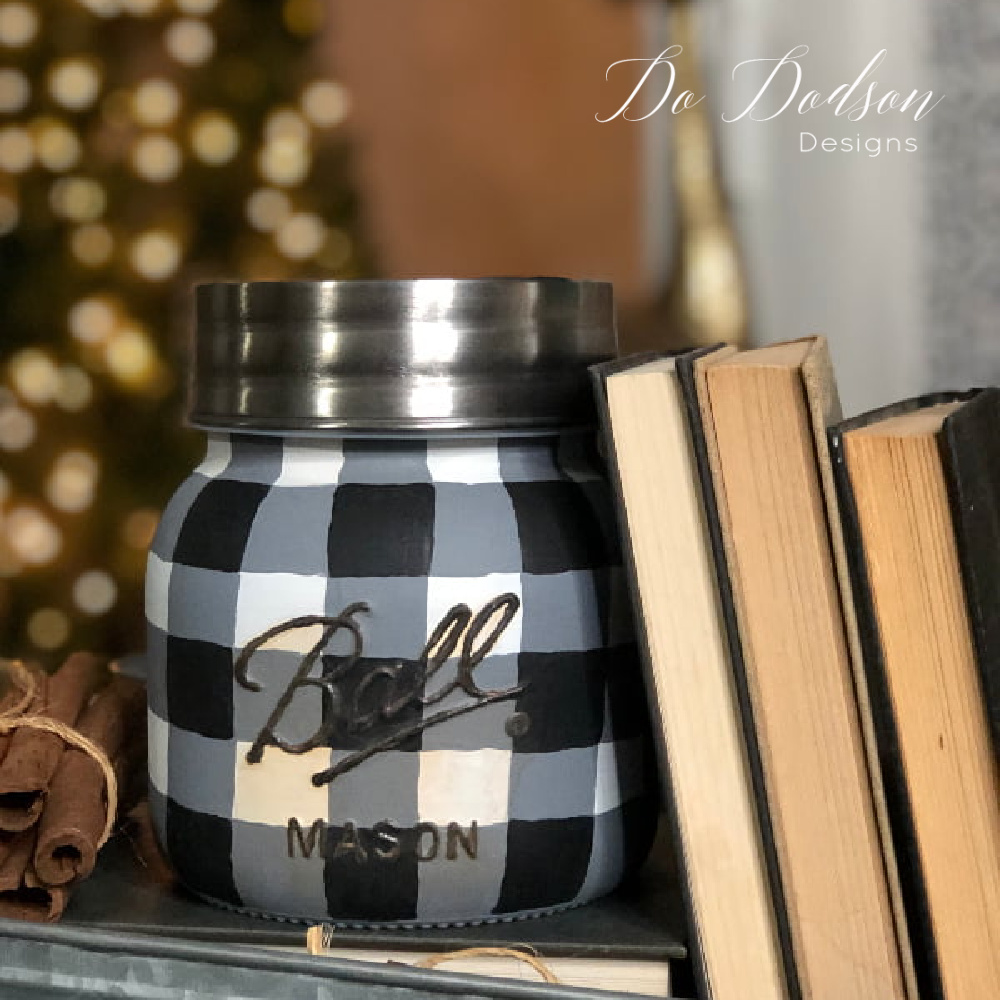
Today I want to show you how simple it is to add this pattern to mason jars. You can add this pattern to many surfaces, but I love the mason jar. It takes me back to a simpler time when I was a little girl on the farm. *disclaimer… if you’re a perfectionist, this project may cause some distress. Seriously!
I chose a Mason Jar Canister to paint this buffalo plaid pattern because of its size. It has great storage potential, and I can always use another container. This would make a cute gift too!
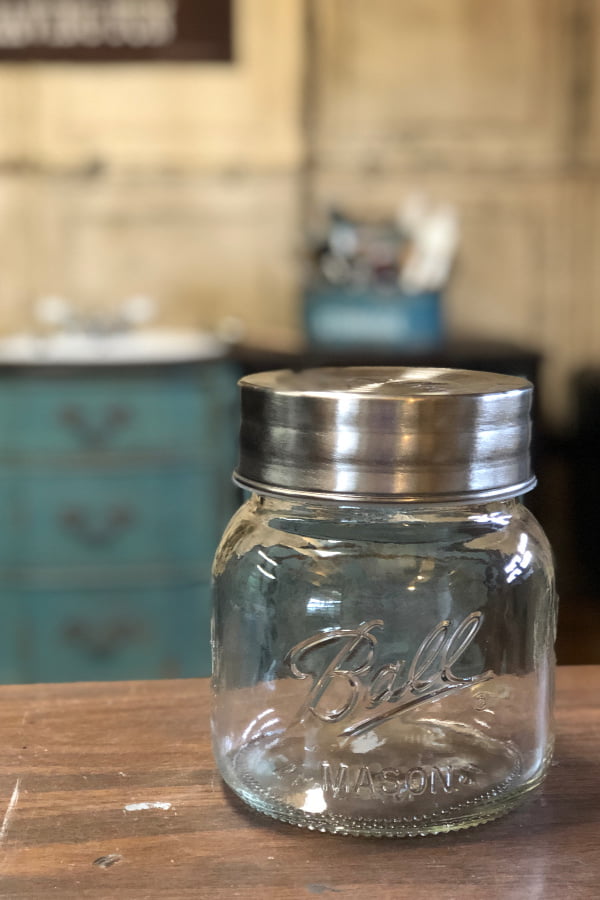

Supplies list for this project:
- Ball Extra Wide Mouth Decorative Container
- Cotton (chalk mineral paint)
- Caviar (chalk mineral paint)
- Iron Patina Paint (creates a rust patina)
- Green Patina Spray (activator for Rust Paint)
- Mini Angle Paint Brush
- Artist Paint Brush
Painting The Base Color | Buffalo Plaid
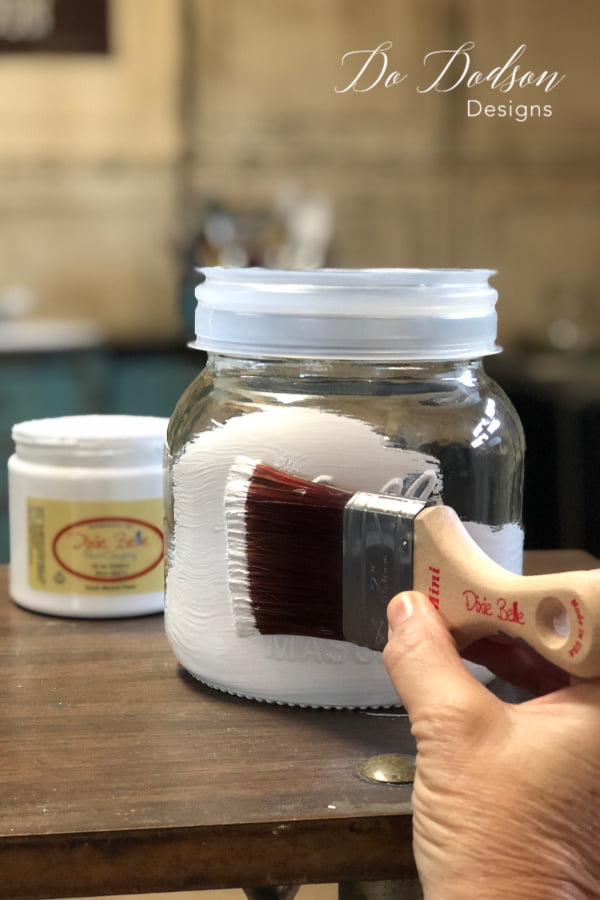
I began my project with a base coat of Dixie Belle Cotton. One coat was applied to the jar and allowed to dry. Two coats may be necessary for full coverage, but there is no need to use a bonding primer on a decorative glass such as this one. Just be certain to clean the glass well before painting.
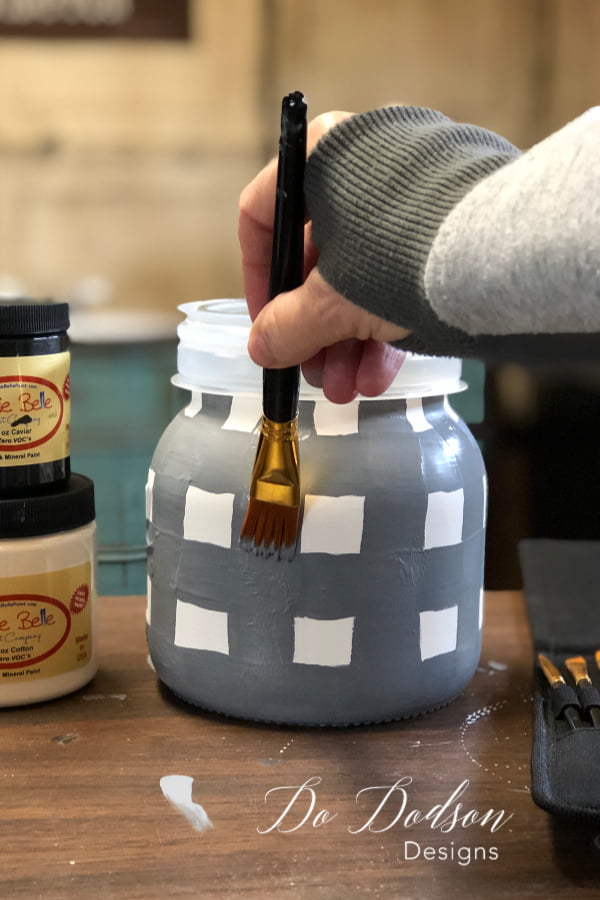
Here’s the scary part. You gotta hand paint the stripes. Of course, if you want to get those clean, crisp lines. Use tape. By all means, make it perfect if that’s what you’re going for. For this project, I wanted a rustic hand-painted look. I mixed the Cotton with the Caviar with about a 50/50 mixture to create the perfect gray and started painting the first set of lines.
To make the lines even, I started from the middle of the jar’s largest part to make my lines around the jar. It was easy to judge the next two lines using this method—one above and one below. Using a 1-inch artist brush was the trick with this project.
This makes it so much easier to control the size of the lines with the buffalo plaid design. 1-inch brush = 1-inch stripe. Well, pretty close to one inch.
Next, paint the horizontal stripes in the same gray color all the way around the Mason Jar.
Painting The Black Squares
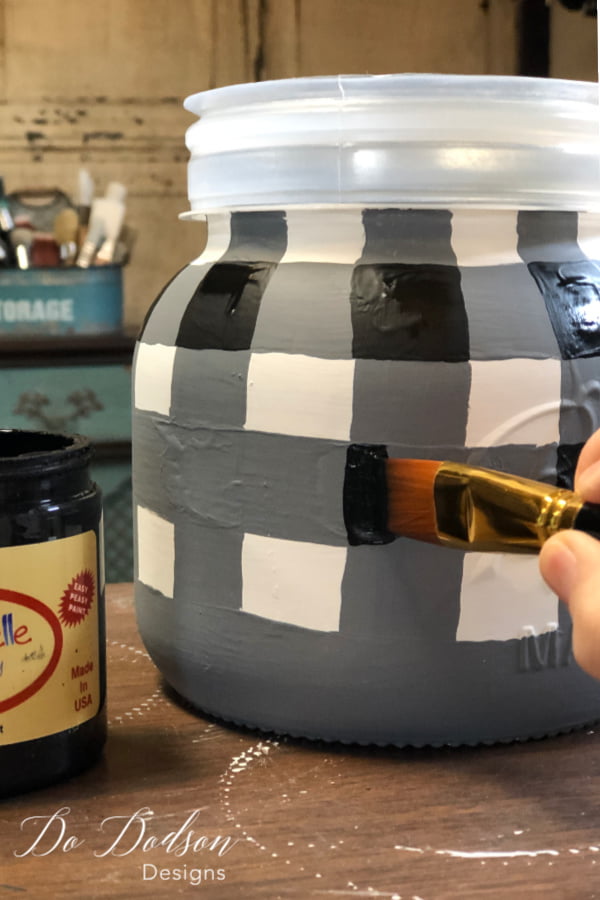
The last thing to make the buffalo plaid design come to life is to add darker squares between every other line where they connect and overlap.
With my 1-inch brush, I carefully painted the squares with Dixie Belle’s Caviar (black). It’s not hard at all, my friends. But, you may want to hold off on the double-shot espresso right before painting this design.
The Finished Project
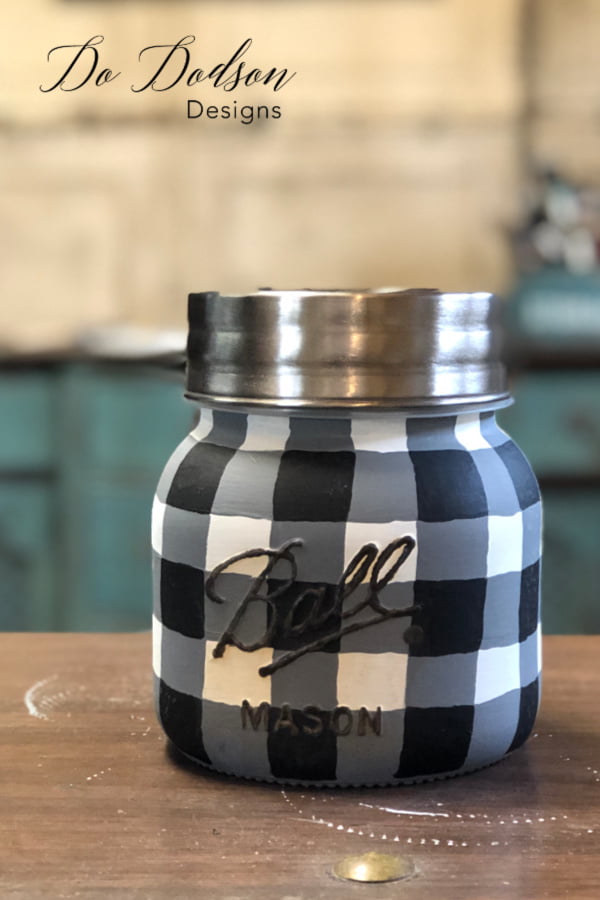
After the jar is completely dried… like overnight, lightly sand with 220 grit sandpaper and smoothed all the rough and raised painted areas out, you can also accent the embossed (BALL MASON JAR) wording to pop out too. That’s part of the charm of the Mason Jar.
I used Iron Patina Paint and Green Patina Spray to activate the rust on the embossed wording to add a bit more rustic charm.
Rustic Buffalo Plaid Painted Mason Jar
My buffalo plaid Mason Jar is stinking cute! I’m pretty happy about this DIY project, and the imperfections make it look even more rustic and homey. Sometimes imperfections are prettier than perfection, in my honest opinion.
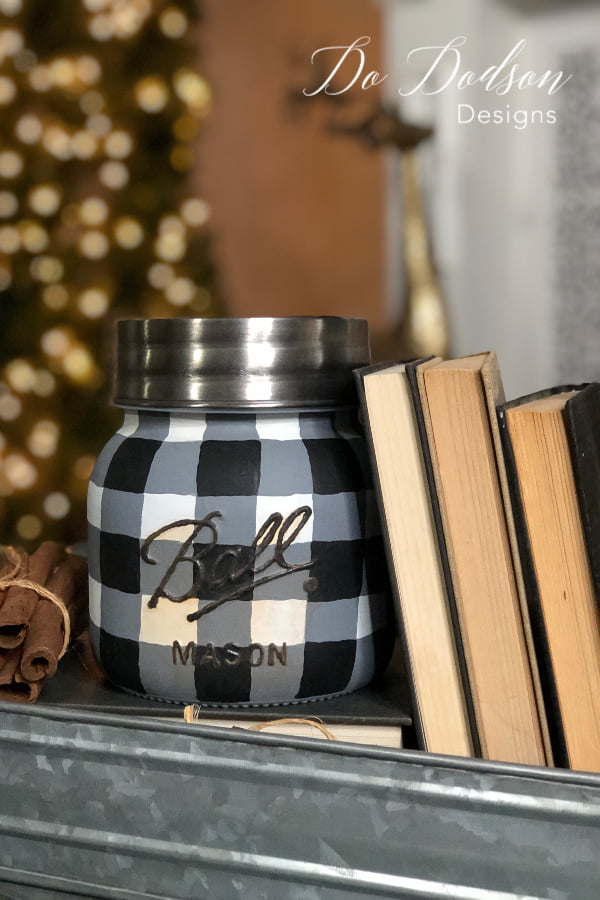
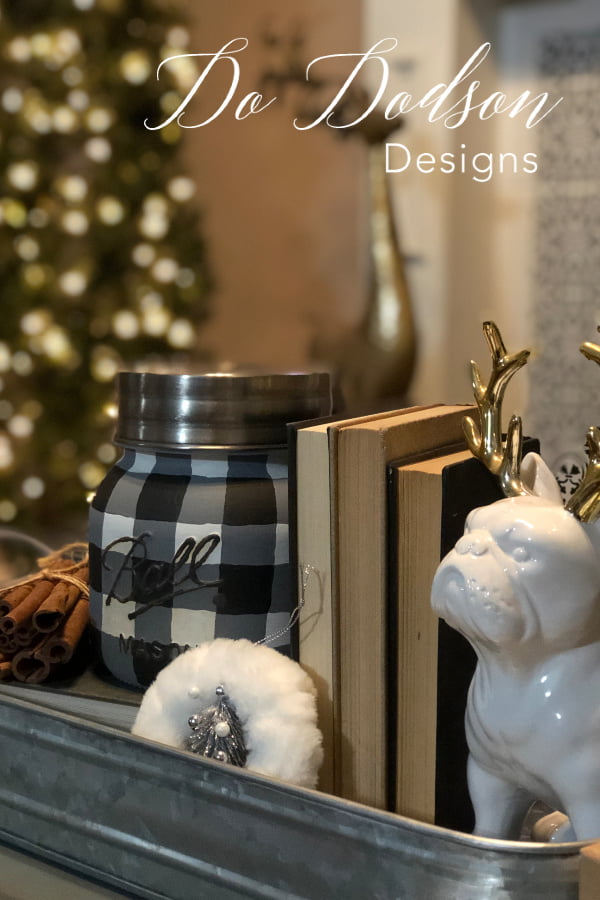
This Mason Jar is now one of my favorites to decorate with and it has become a staple in my holiday decor accents.
Thanks for joining me today for this fun DIY project. Creating a buffalo plaid pattern on home decor can be so much fun and add a charming bit of rustic charm to your holiday season. Have fun with this pattern, and don’t worry about being perfect. Perfectionism is WAY overrated in my book. Happy painting!
Until the next project… xo, Do


Super cute project Do! I can’t wait to try this on a piece of furniture. 🙂
Thanks Denise! Yes! Please lead the way that only you can. 🙂
Love Love Love it! Something else of yours I am going to try. Thanks for sharing.
Thanks Ms Donna! It’s a fun craft and so darn cute. Thanks for stopping by.
Ok Do since I have messed up….my jars are Black now. So I will just try and do an opposite. If not it’s “Just paint right” do over. Will see what happens ???
And things happen for a reason right? Could be a happy accident! Go for it!
Should these jars be sealed with a clear coat to prevent the paint from chipping or getting scratched?
Hello Lee!
As long as you use Dixie Belle chalk mineral paint, there is no need to seal the finish on home decor or furniture. If you like you can apply a coat of wax, but it’s not necessary. Happy painting! 🙂
Why does it have to be chaulk paint? Will acrylic paint work? Thank you
Acrylic paint doesn’t adhere well to glass, but most chalky based paints will. Hope this helps. 🙂
Could I use acrylic paint and then seal it somehow?
I have been wanting to do this for awhile.
Your jar is awesome!!!
Hi Linda! Thank you. Acrylic paint will not adhere properly to glass. Your best bet is to use the chalky based paints.
xo, Do
This is super cute! I love it.
Thanks, Renea. I think we sometimes allow perfectionism to get in the way of creating. This was fun! 🙂 xo
I love this Plaid look on a lot of stuff around my home. I have saved empty glass jars over time and this cute idea of yours to paint them black, grey, and white plaid is just what I plan to do as soon as I can.
Thank you for sharing your brilliant ideas Do.
Take care and stay safe.
Hugs xo
Brenda and my 3 wee little Dogs 🙂
Hey Brenda and the wee 3!
It’s so good to hear from you. Thank you so much. Using three colors works well, and I think you’ll have fun creating your favorite pattern on those jars.
Take care, and Merry Christmas to you and yours.
XO 🙂
Love this, but where do you get this paint?
Hi Wanda!
I’m glad you liked this. The paint is Dixie Belle chalk mineral paint. It works well for furniture makeovers as well as updating home decor and crafting. Here’s my affiliate link if you would like to purchase it. Also, every blog post has a supply list with the products I use and it’s linked to the products. Just click on the product name in the list. https://dixiebellepaint.com/buttercream-chalk-paint/?aff=80
Thanks for reading.
Merry Christmas!
xo, Do
Hi Donna! This is so cute and you made it look easy. Thank you! I thought you had to put slick stick on glass. I have wasted alit of slick stick then
🙃
Yes, Cheryl,
I did the same thing for a long time, but now I never use slick stick if it’s just for crafts and home decor. The chalk mineral paint sticks well. You should try this! 🙂 xo