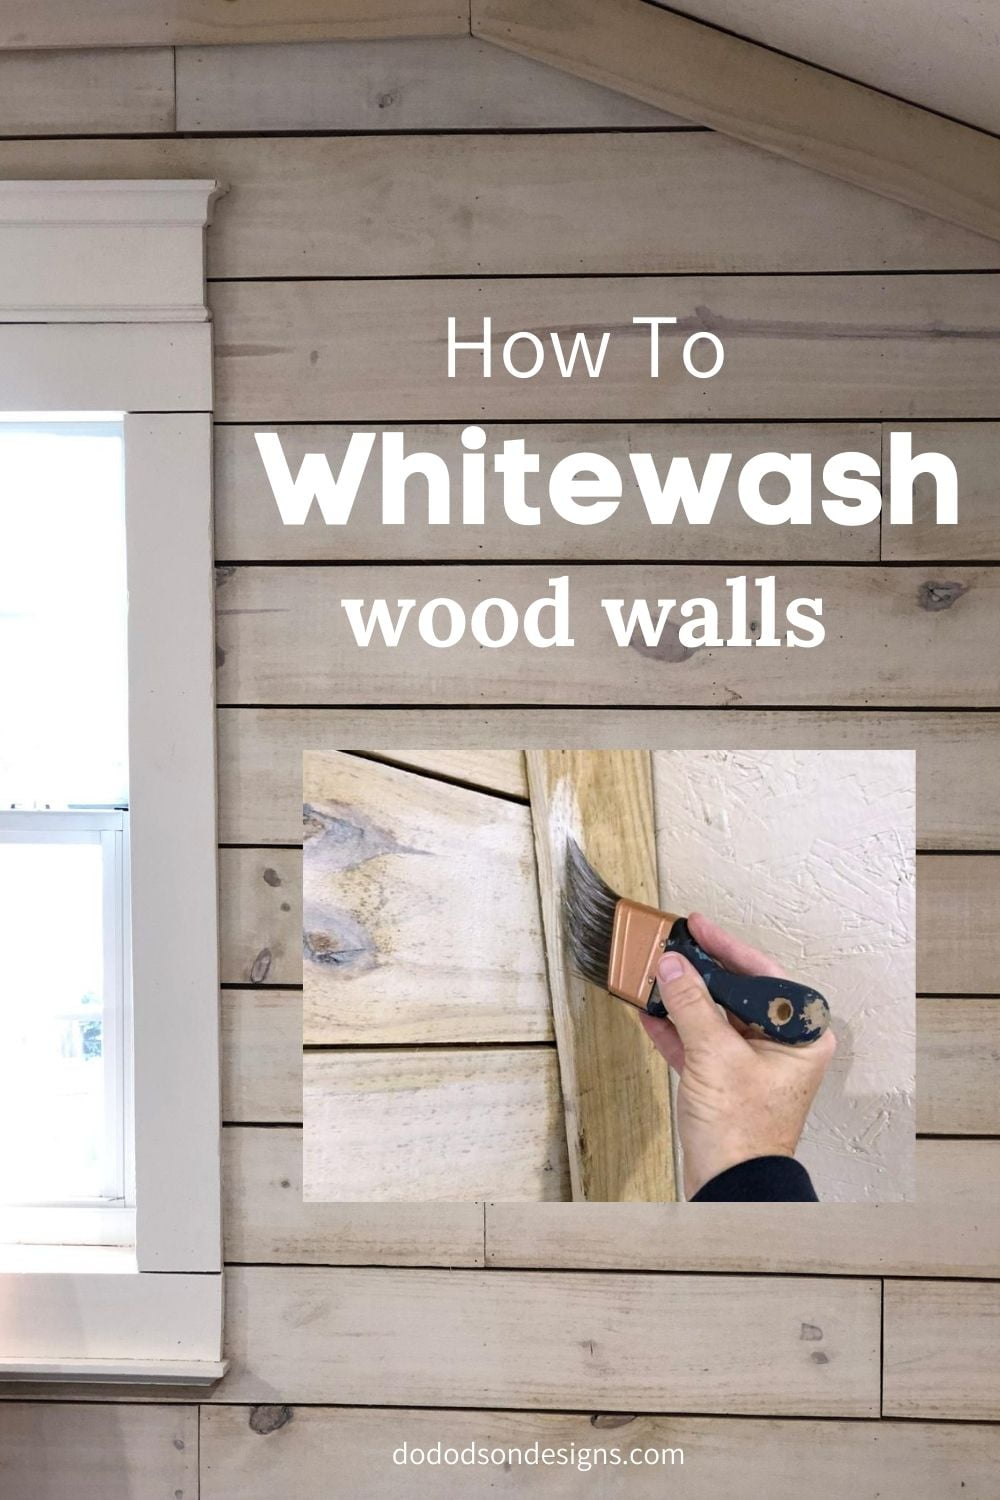
I’ve always loved the look of whitewash wood and shiplap. I just never could seem to find the right wall in my home for this project. Last year my hubby and I finished out an accent wall in my studio office using wood fence pickets. After pricing the shiplap, I was like… umm no. It was just a small wall and it turned great. The flooring and ceiling are plywood for now but it works.
This post contains a few affiliate links to help you find the products I use. You are not charged extra to use any of the links, but any income I make will be used for more fun projects! To see my full disclaimer, click here.
How To Whitewash Wood Walls
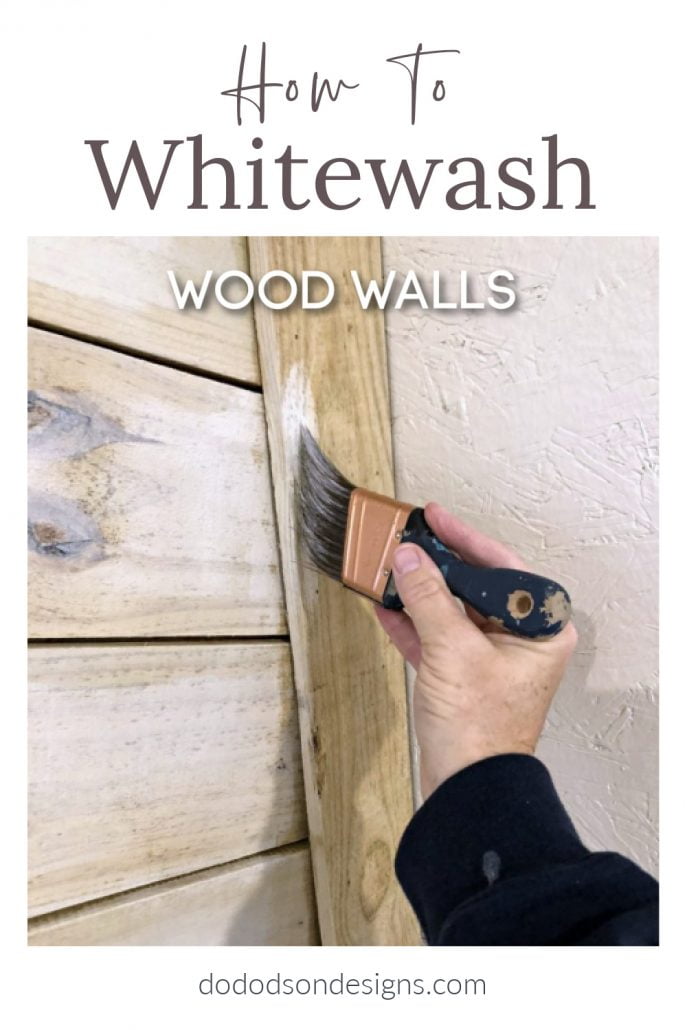
Here is a list of the supplies you’ll need to whitewash wood walls.
- Latex Wall Paint (Sherwin Williams Extra White) (any brand will work)
- Painter’s tape
- Zinsser’s BIN Primer (for the window trim before painting)
- Paintbrush
- Foam roller
- Dropcloth or old sheet
The Wall
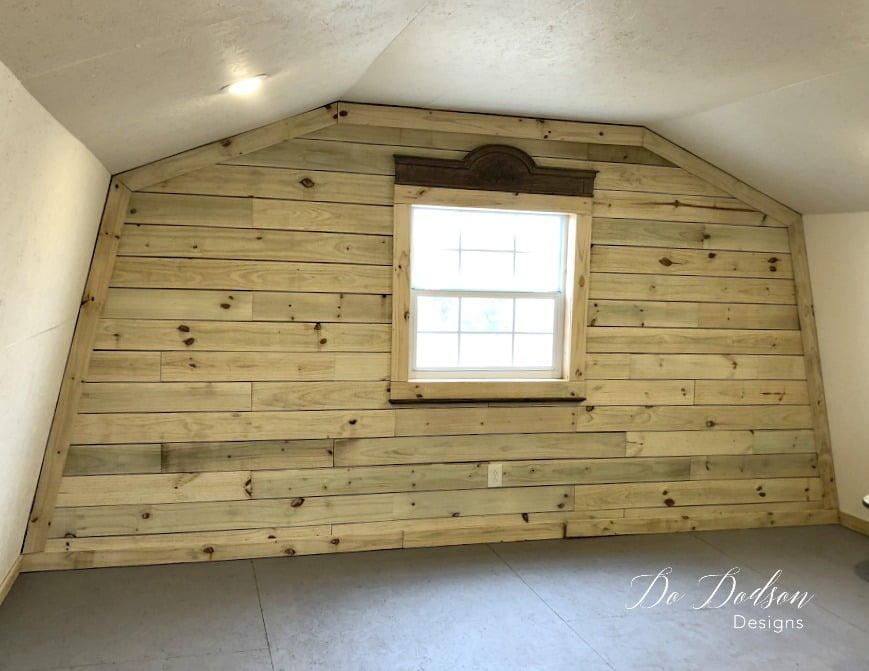
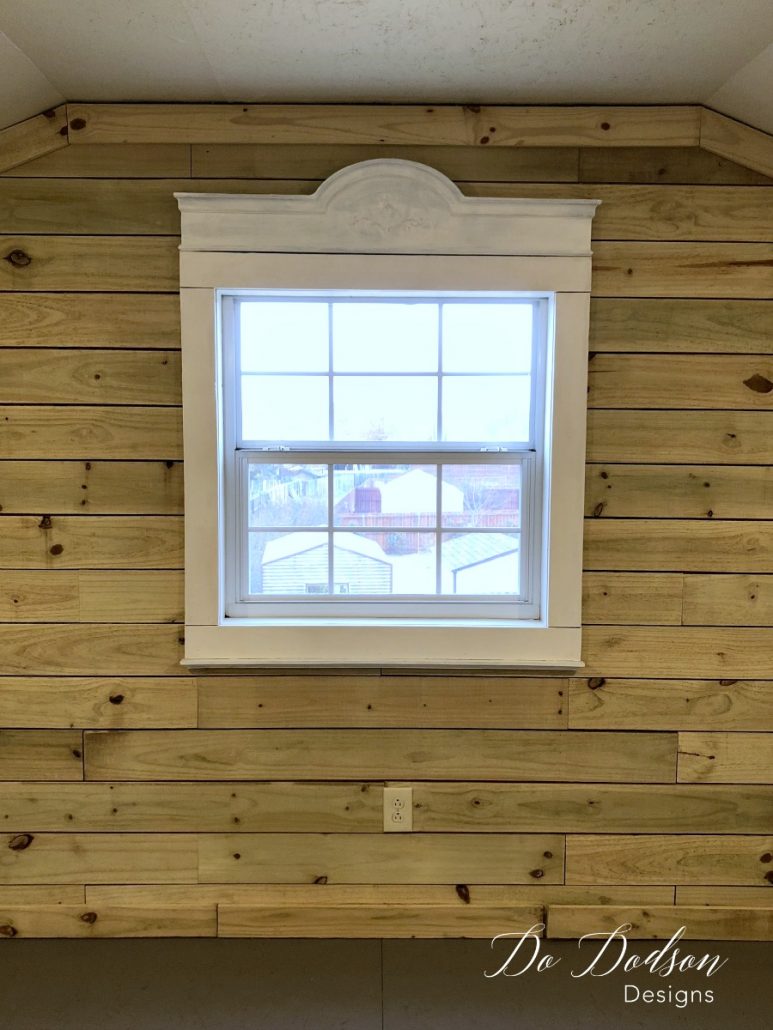
Let’s start off with the trim around my window. I painted one coat of Zinsser’s BIN Primer on my window trim. I wanted the trim to have a solid coat of paint to stand out and pop out against all that whitewash on the wood. The wood fence pickets (less expensive than shiplap) I used around the window would definitely need to be sealed to prevent the wood tannins from bleeding through. After applying two coats of primer on the window trim only, I painted the trim with the Sherwin Williams Extra White interior paint. So bright a cheery!
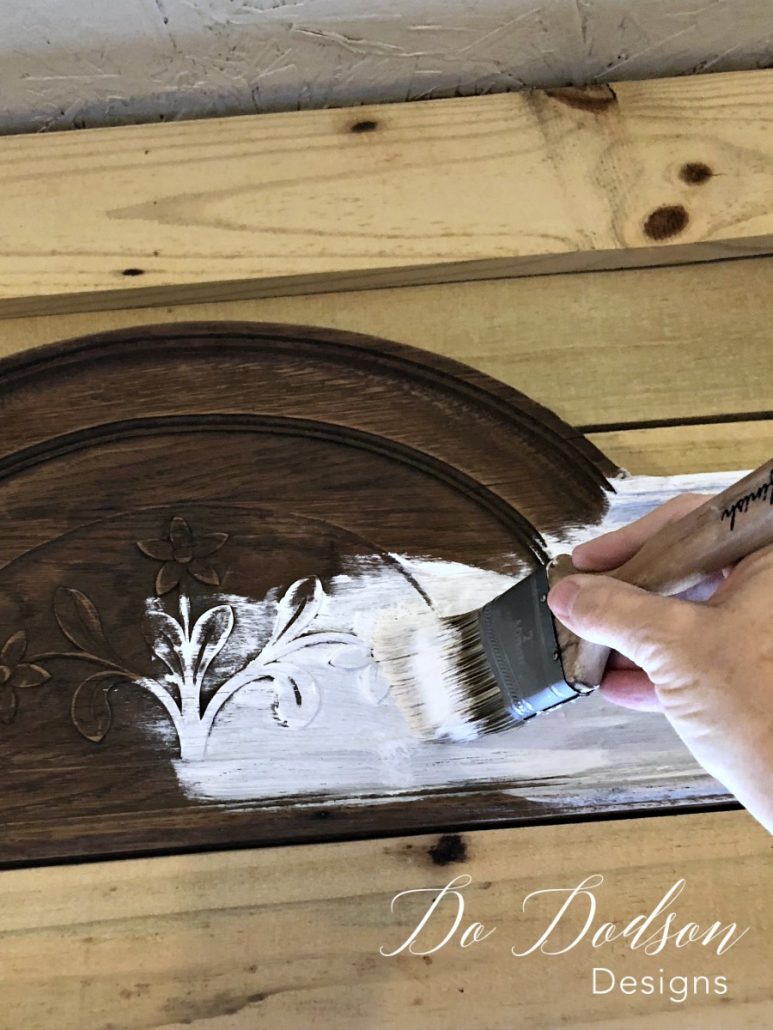
Did you notice cool wood decorative piece above the window??? I rescued it from an old buffet table. It fit over my window perfectly! Like it was made for it. It added just a little additional decorative touch to the window.
Protect Your Floor Before Painting
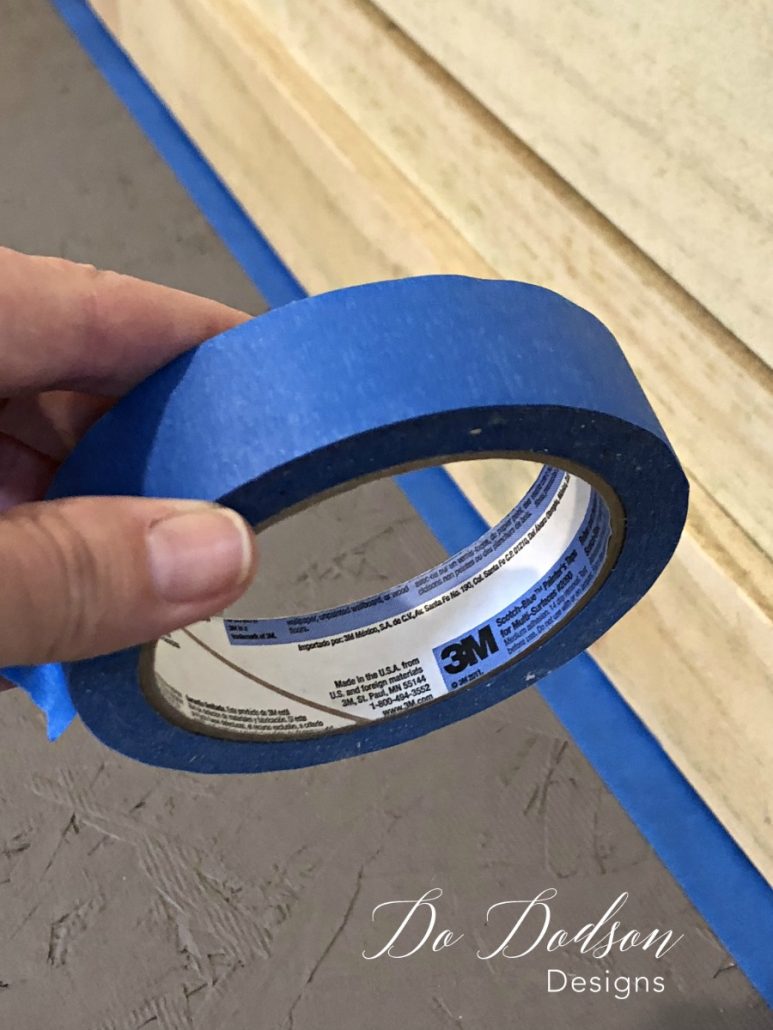 Now, before I begin my whitewash wood project, I know I will need to protect my floor. I recently painted my floor and the last thing I want is to have to repaint it. That’s a job! Painter’s tape can be your best friend when painting baseboards. I simply ran a strip along the floor of the baseboards first, and then secured my sheet/dropcloth to the tape. You may not need this extra step, but my floors are not smooth (gonna get carpet someday) and this step created a smooth surface for the tape to adhere without slipping. Also creating an extra barrier to stop any paint from seeping under the tape.
Whitewash Wood Paint Recipe
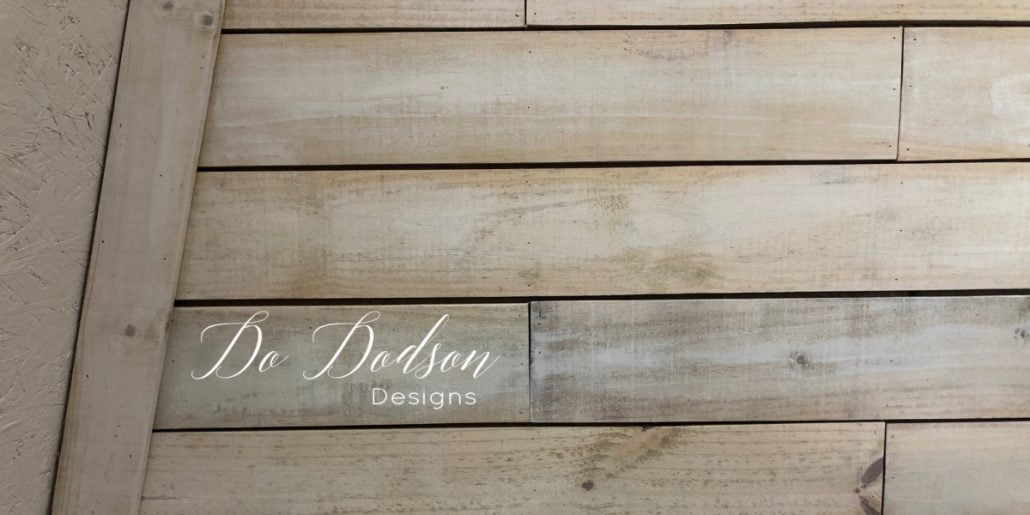
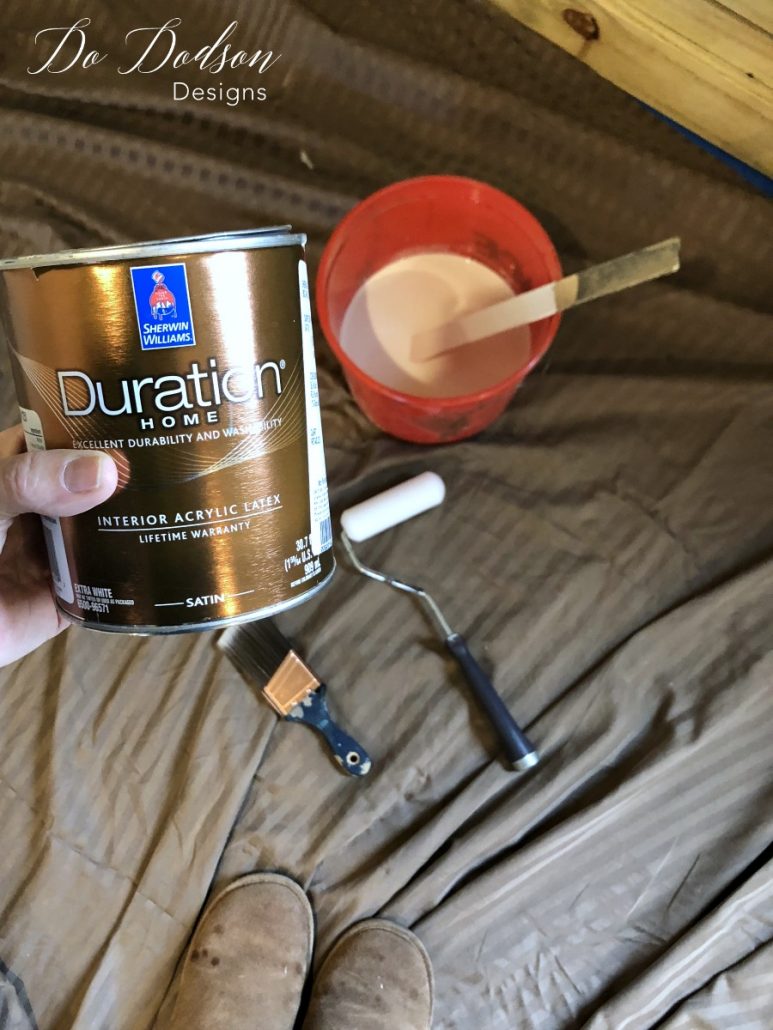 To make a whitewash is very simple. I used latex paint and diluted it down with water. That’s it! Nothing fancy. I used a mixture of 3:1. Three parts water to one part latex wall paint. This is not a rule, but a guide. It depends on the amount of transparency you are looking for. More paint and less water = more coverage. I mixed the paint and water in a small plastic bucket and used a foam roller to apply it to most of the wood walls. The paintbrush was used to cut in the areas that the roller couldn’t reach.
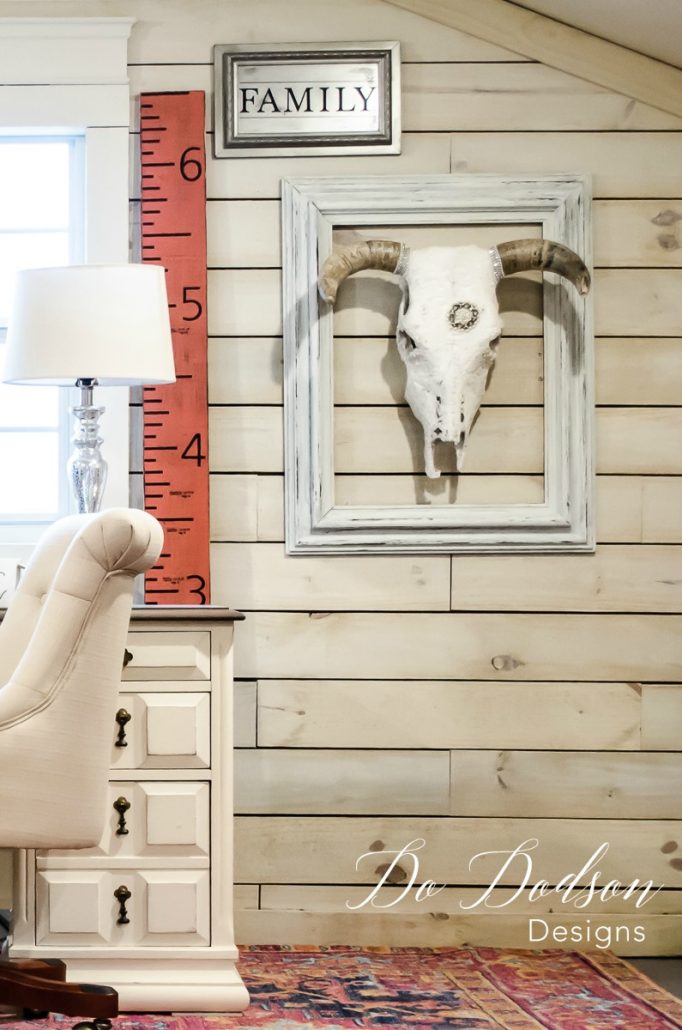
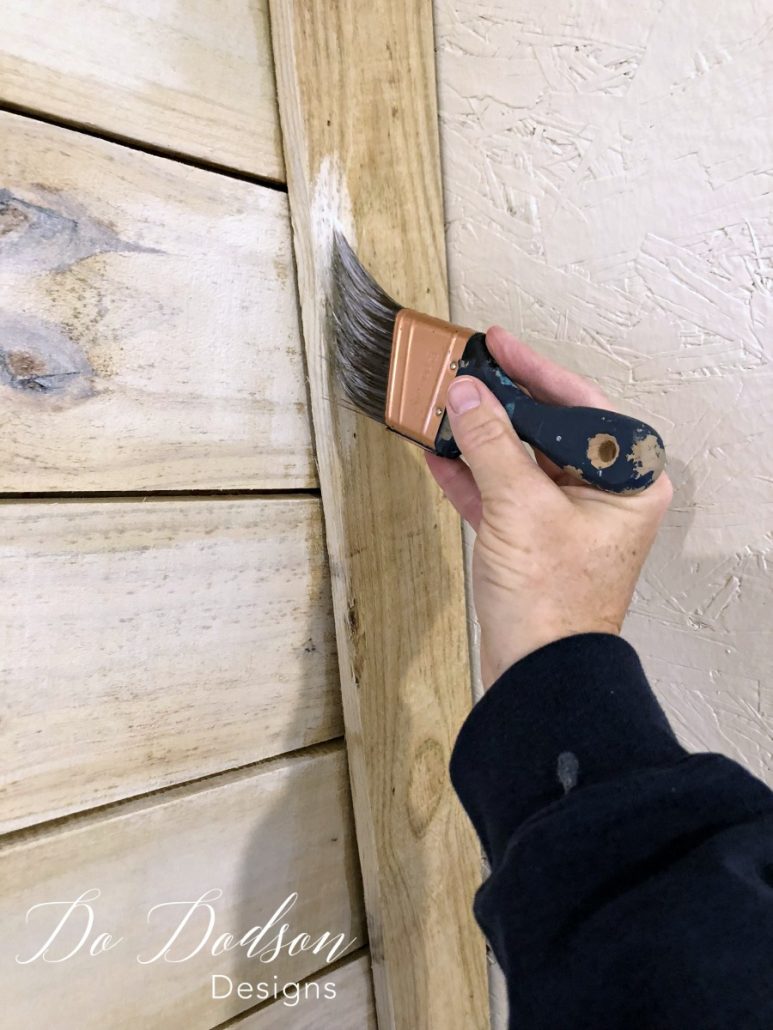 The results are GORGEOUS! Using a watered-down version of latex paint allowed the beautiful wood grain to show through. I couldn’t be happier with the results of the whitewashed wood.
The Stunning Look Of A Whitewash Wall
Post update: 2020
It’s been a few years since this post and may things have changed in this room. It started out as my studio office and now it’s a guest room for family and friends. Here is the most recent look of my modern farmhouse room and those fabulous whitewashed walls.
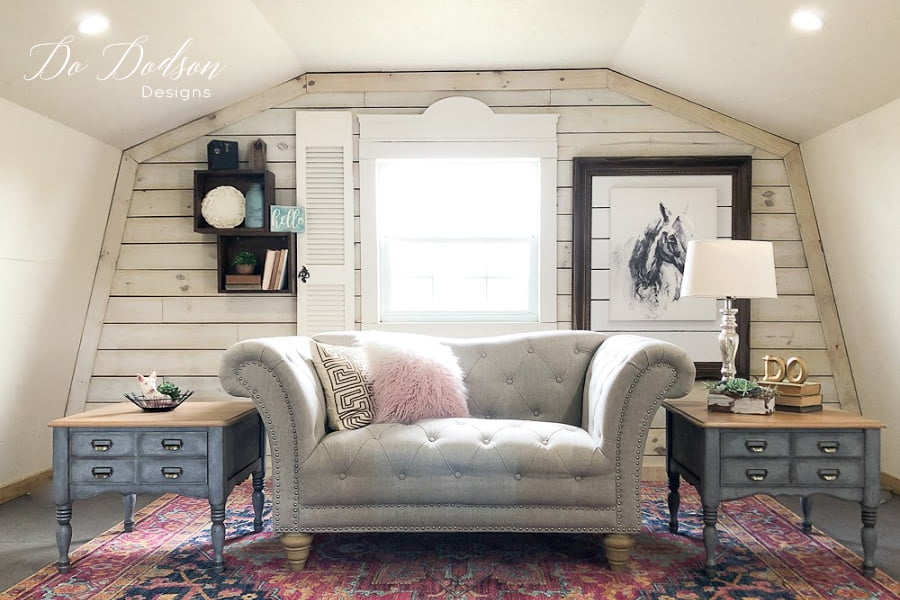
And no doubt that the decor of the room will change again. I love to redecorate! But one thing that will remain the same are the gorgeous whitewashed walls.
Thanks so much for hanging out with me and my walls. Got feedback? I’d love to hear from you in the comment section below. Have a super week!
Until the next project… xo, Do
Related Post:
Oops! Don’t forget to PIN THIS to your DIY Home Projects board.
